Thursday, February 28, 2013

Turn old magazines into letter paper - a Tutorial

What to do with old magazines was one of the top searches to my blog last year. Since I wrote the original post, my readers have multiplied almost tenfold, so I think it's time to come back to the topic.

I still love magazines, but I am determined to put them to good use as much as I possibly can. This is of course once I've read and saved the parts that I feel need saving. I still use them to the same purposes as before, but I am convinced I can come up with more uses. I'll report back here every time I do.

The first fun project is actually quite simple and I can't believe I didn't think of it before! Especially since I am so extremely picky when it comes to any paper I use. (That and pens, don't even get me started. Although, now that I think of it, maybe we should discuss pens and paper at some point...)

Today's project is; letter-writing paper using old magazines. I have trouble finding just the right kind of paper and I do have a whole lot of old magazines... DIY letterpaper
You'll need old magazines, scissors, paper (any boring old paper will work, it won't be boring for very long) and glue.

Any magazines will work, whatever you have at home. Try to think of other things as well, advertisements perhaps. As you can see from the photo, I did check Wired as well (it's a tech-geek magazine with really great articles, even if you're not *that* into techie kinda stuff). To be honest, I love the style of them, so there's a whole lot of cool illustrations to use...

DIY letterpaper 
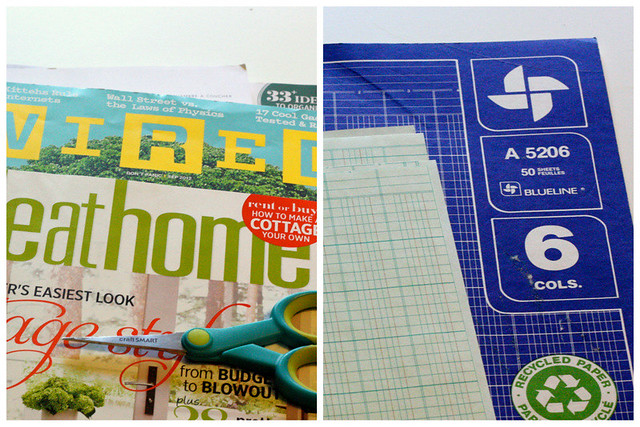
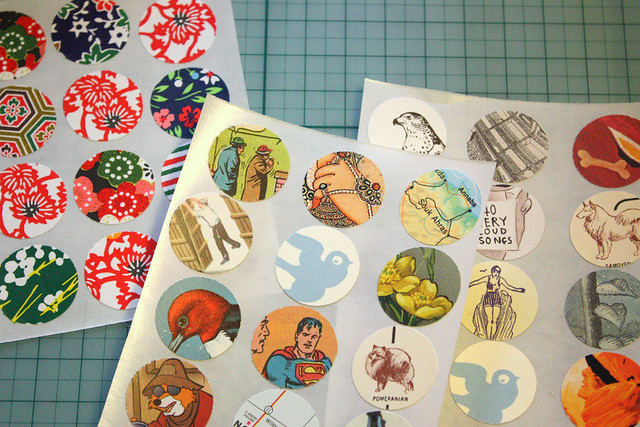
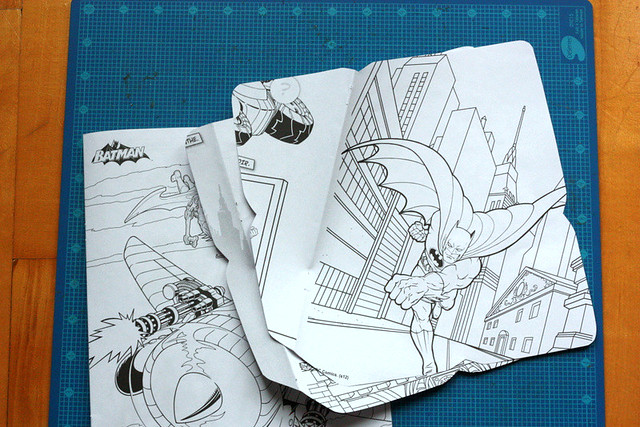
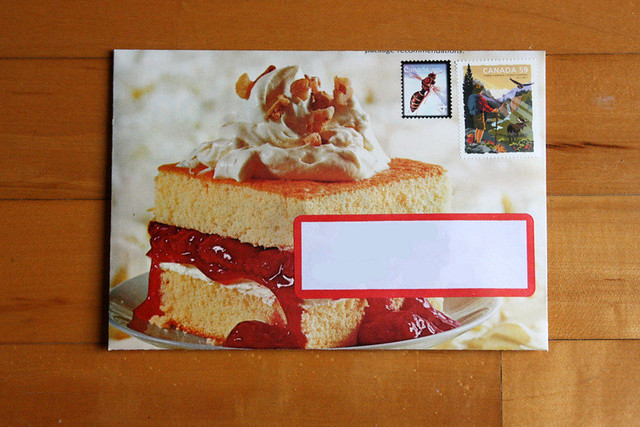
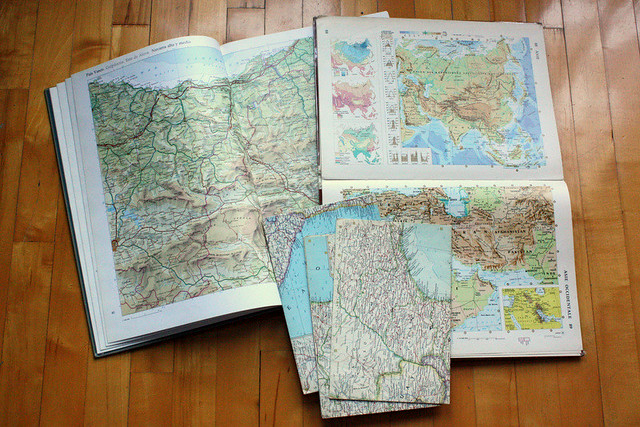
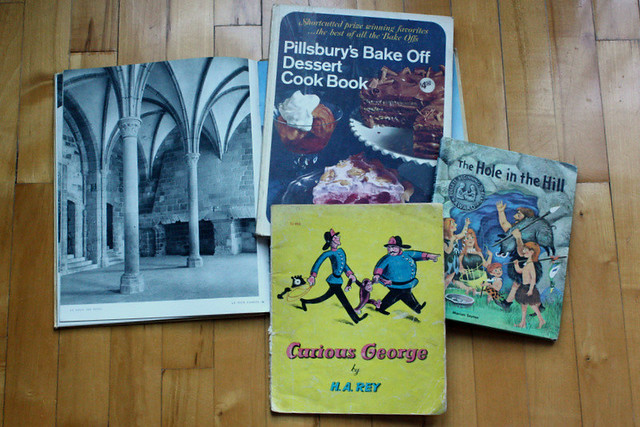
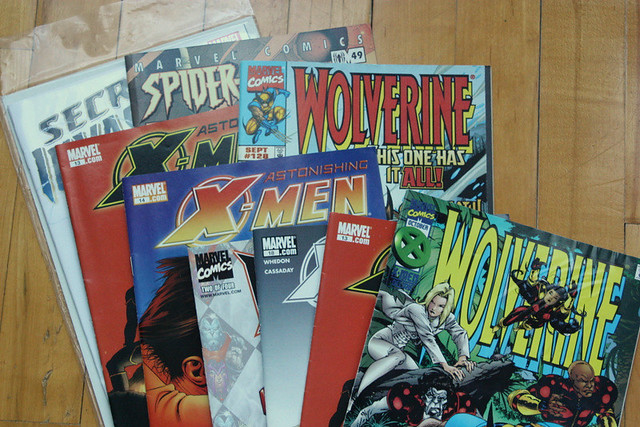
So, start by flipping through the magazines for pictures you like. It could be anything! Maybe a photo or a drawing, a funky pattern or just a color you really like. Cut out the part you like. Experiment with different styles, cut some out exactly at the outline and others maybe into shapes. If you have a paperpunch or a few, use those too!

DIY letterpaper 
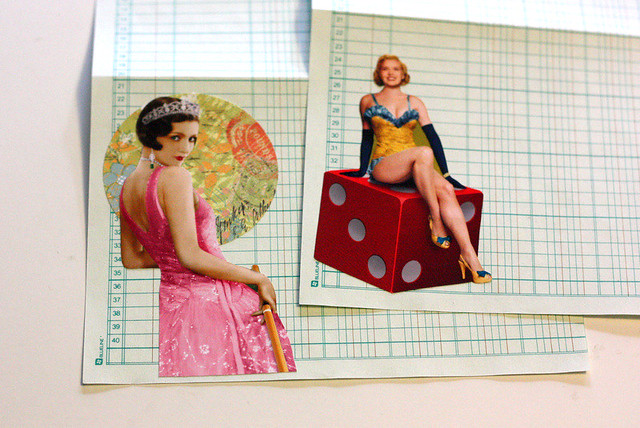
Once you have some of your pictures cut out, cut your paper into the right size if needed. I'm sure some will work just as they are, others you might want to cut a bit smaller. Remember: any paper would really work as long as you can write on it. I think this is the perfect way to use those last pages of notebooks, especially the school ones, or ever printing paper. The point is really to use whatever you have at home. I made mine from vintage ledger paper.
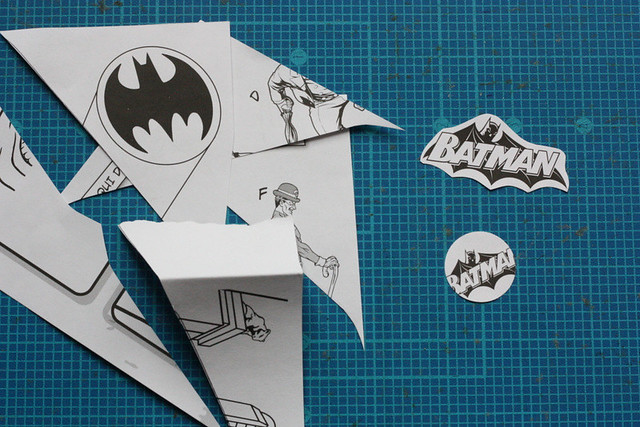
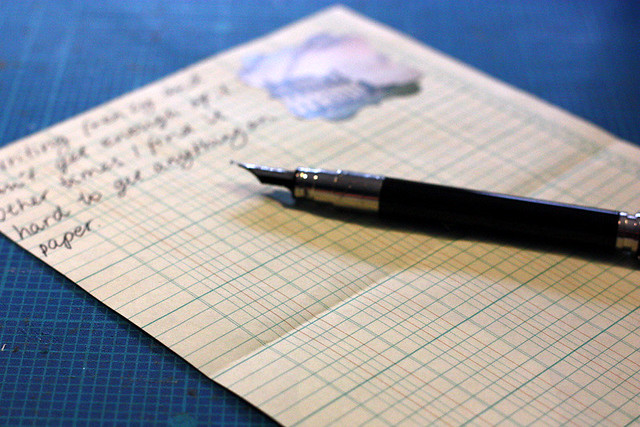
Then finally glue the cutouts to your paper. I would recommend putting the sheets under a bit of weight while they dry, just to make sure they stay flat.

DIY letterpaper
And then, just write away feeling good about yourself for several reasons:
1) you made this from scratch
2) you used some stuff just laying around
3) you UPCYCLED like a pro

If you're going to make this project, please let me know. I'd love to see your versions!

Tuesday, February 26, 2013

On the crafting desk - new stickers galore

I'm feeling extremely productive right now and am creating more stock for the shop. I've also been experimenting with some new products and have finally picked the ones I am the most proud of. There will soon be two new types of stickers available in the shop! I just really wanted to share a sneak peek with you guys since I am so excited!

Upcycled stickers by Brinner
These new sets are made from upcycled paper as always and I just love them all! I'll show you the full sets and the inspiration behind them soon. Right now I need to finish a few new sets of envelopes and then set up for photos for the new stickers.

I'm just so happy how these turned out!

Monday, February 25, 2013

Monday Mail

I had such a lovely weekend out of the city. I went skating and spent more time outdoors than in a long, long time. There was absolutely no connectivity whatsoever, no internet or even phone coverage. It was a nice change. I will answer your comments and e-mails soon! I have some really nice photos from the trip too, so I'll share some with you guys later this week.

On the mail front it's been busier.


Outgoing


Mail Love - outgoing

Mail Love - outgoing
I actually had a few outgoing packages this week! I sent a few others as well, but to be honest with you, they weren't anything new. You've seen similar so many times already. I was working on something in a new style this weekend, but it's not completely finished yet, so you can see it next week.

Incoming


Mail Love - incoming
Such awesome mail from Jess! Look at the comic-book-y, pop-art-ish envelope! How cool is that!

Mail Love - incoming
I've been good again obviously! Packages all kinds, my February Olivebox subscription, a surprise package with cartoons and a magazine and some chocolates to top it all off. Such perfect things, I love them all! Thank you so much guys!

How was your weekend?

Sunday, February 24, 2013

Paper Love - Wedding invitations by Jess

Guys, I'm so excited to share these photos with you! These are the wedding invitations Jess put together for her wedding. When I see this kind of awesomeness I love what I do so much more! It was such a fun project to work on. Jess contacted me about the stickers I make from used postage stamps. We brainstormed on the right color scheme and here is the final result. Aren't they gorgeous?
The lettering is beautiful as well. Unfortunately I had to cover some of it to keep the privacy of the recipients, you get an idea with the names already. So beautiful!

Amazing job you've done here Jess! I bet your wedding will be incredible!

P.S. The ring is gorgeous!

Friday, February 22, 2013

Friday Inspiration - Books, glorious books

I am the quintessential book-nerd. And I'm proud to admit it! One day I will have a library book-nook. I have decided, so it shall be done. Might happen when I retire, but I want to have a space for all my books to live happily ever after.

There's so much I could say, but at the same time I feel words are, ironically enough, unnecessary.


This post is dedicated to all you book-nerds out there.

Also: http://bookshelfporn.com/ (you can thank me later)

P.S. I also want this:


Wednesday, February 20, 2013

Coloring Book Snail Mail Tutorial

Yeah, that's right!


This is actually a fun little project, and super cheap, that I came up with quite accidentally. Let me tell you how I became to own a Batman coloring book.

I have awesome friends and some of those said friends are totally cool with (or in tune with their inner/outer nerds) liking awesome things like Batman. So, as it happens I went to Dollarama (I can't tell you often enough how much awesome stuff they have, seriously) to look for bubble-wrap and saw these glossy and awesome Batman booklets over at the kids section. I open one of them and find it's a coloring book and, more importantly, it comes with stickers. Immediately I'm thinking of Mary and decide to purchase this booklet so I can send her Batman stickers.

The sheet of stickers was too large to send in one piece, so I sat down to start cutting them into smaller pieces. As I was doing that I realized I could use the pages and covers too... And I realized tht there are two other peeps I know who would totally appreciate superhero mail, Sanna and Erli. So, I ended up making two lined envelopes, two cards and some Batman confetti.

Coloring book snail mail DIY 2www.brinnertime.com This is how you can make something similar as well.

Coloring book snail mail DIY 3 www.brinnertime.com Take the booklet apart carefully, you'll want to keep the pages fully intact, not cut in half. This shouldn't be hard as the cheap-o dollarstore booklet was stapled together. Cut the pages into envelope shapes**. You can use an envelope template to do so. To learn how to make one yourself, check the envelope template tutorial HERE.

Coloring book snail mail DIY  4 www.brinnertime.com Cut the lining shapes**.

**Note: Pick the pages for the envelopes first. You'll need, not only bigger pictures, but the ones that have a focus on the middle of the page. Then you can pick the best ones from the leftovers for the lining.

Would you guys want an envelope making tutorial as well? A kind of a basic how-to which you can apply to a whole lot of other projects?

This and other DIY's at http://www.brinnertime.com/search/label/Tutorial Assemble the envelopes.

Coloring book snail mail DIY 6 www.brinnertime.com Cut the covers of the coloring book into cards.

Coloring book snail mail DIY 7 www.brinnertime.com Finally, cut any leftover paper snippets with cool pictures into confetti to stuff the envelopes with.

And of course, no comicbook-superhero-snailmail-awesomeness is even complete without a speech bubble address label. Drawn on paper and glued on the envelope.

And, done!

Now, tell me is this the coolest, most awesometastic snailmail DIY ever??? Geekiest for sure!?!

Edit: added a link to the envelope template tutorial.

Tuesday, February 19, 2013

What I'm working on

It's been a little while since I last showed you guys what I've been working on. I have a few new products in development stages right now, so those will have to wait a little longer. One thing I can show you though, is the new packaging!

Packaging for upcycled stationery sets
It might sound a little silly, but I put a lot of time and effort into this. I love every single item I make, so I want to packaging to reflect that as well. I feel like I will tweak this a bit still, but I'm quite happy with the outcome.

Packaging for upcycled stationery sets
These are the upcycled stationery sets with 6 envelopes, flat cards and stickers. They are all made from vintage maps, used postage stamps and other rescued paper.

I have plenty more to pack and like I said, some new prototypes to test out.

Do you pay attention to the packaging of the products you buy? Does it affect your purchase decision?

Monday, February 18, 2013

Monday mail

And so it is Monday again. Somehow we got here faster than last time, I feel. It's only in my head, I know, but I really felt the last week just slipped by. Perhaps because I was making tiny notebooks for most of the week...

I have gotten back on the proverbial saddle when it comes to outgoing mail. One thing I just noticed when I was editing the photos for this post; I almost always take a photo of the incoming mail before I open it. Somehow it made sense to me. This week, both of the letters were opened before I took the photos. Usually I take my time when I receive something. I might make a cup of tea first or at least make sure I have time to read them properly. This week I felt like I needed the distraction immediately. So, this time the letters were read first and only then photographed. Do you think the order makes any difference?

Outgoing


Mail Love - Outgoing
Just yesterday I showed you some of the books I found recently and mentioned how I wanted to make dessert envelopes... Well, I really, really wanted to make them, so here's the first one already. I will actually make a set or two for the shop soon, so you can soon mail some pastries too!

Mail Love - Outgoing
A silver envelope decorated with the new washi tape I bought from my recent trip to New York City and a new art deco stamps I finally received from the post office.

There was also a few other things going out that I felt didn't need to be added to this post for various reasons.

Incoming


Mail Love - Incoming
A lovely letter from Susanne with pretty handwriting, nice stamps and, of course, Korean stickers!

Mail Love - Incoming
This green hued guy is from Laura. I really like the tapes!

So, how are you doing today?

Sunday, February 17, 2013

Latest finds - books, maps and superheroes

I haven't shared any thrift shop finds in a long while. Partially because I haven't spent much time treasure hunting and the times I have gone, I haven't found anything interesting enough to share.

Last Friday I felt like I needed a little break and took an afternoon off from my usual schedule to go for a walk. Somehow when I decide to "go for a walk" I end up at a second hand store or a thrift shop. I don't know how that happens, a total mystery. (Does this ever happen to you?) I think it helped that I hadn't been to my regular shop in a while, because I found some pretty neat things.

Thrift store finds - Feb 2013

Two vintage atlases and some old maps. The maps are especially nice find and I already have a use in mind for them. I'll share it with you guys once I've finished. The larger of the two atlases is a Spanish one from 1992 and the real treasure is a French atlas of the world from 1978.

Thrift store finds - Feb 2013

I also found a few other books, "Curious George" and "the hole in the hill" as well as a Pillsbury dessert cookbook from 1968. The photos in the book are awesome. As much as I'm tempted to try some of the tasty-sounding recipes, this book will be made into envelopes. How much fun would pictures of pies and pastries be in your mailbox?

The last treasure is a picture book of Mont Saint-Michel. It's absolutely beautiful with large, high-quality photos of the details of the castle. It's falling apart pretty badly, but I can make such beautiful things out of these pages. I'm really excited!

Thrift store finds - Feb 2013

Finally, I couldn't resist cheap comic books. With 25 cents a piece, they were a steal. I grabbed a few that I think I'll read first and then see what I might make out of them.

Have you found anything fun recently?

Saturday, February 16, 2013

How to look good in the kitchen - Quinoa

Due to popular demand* here's finally a great recipe for impressive looking but really easy to make meals!

Man, I love quinoa. I know it sounds totally hippie and all, but it's seriously such an awesome ingredient. I know, I know, I'm really late on the quinoa bandwagon (foodie-fail), but better late than never, right?

So, let me tell you first why it is so awesome. Yeah sure, it's healthy, sustainable, supports the small farmers in Bolivia... All super-great things, but you can find all that stuff elsewhere, written by people who know what they are talking about. What I know as the 'queen of laziness in the kitchen', is that you need to do the work once and you can get several different meals out of this one. Let's say at least a dinner and a couple of lunches. Minimum. Also, I like making things that SEEM impressive and like it took me forever to make. But it didn't. HA! I should totally write a cookbook. It would be called "Let's make impressive looking food that requires hardly any effort**". (Publishers!!! You can find my contact info on the sidebar!)
 

Anyhow, quinoa. You've heard about it surely, and figure it's going to be difficult to make and where the hell am I even going to find it?! Answers: it's not difficult at all and you can find it practically any grocery store. (Well, here in Montreal at least. Go to a health food store if you can't find it. They'll have it for sure)

I like to make a huge pot of it and then throw in different things to make separate interesting meals out of basically the same thing. It's like using a base and then masking it with a whole bunch of other stuff. Like the LBD of cooking.

[I did not get off topic at all there by the way]

To make quinoa you'll need:

Quinoa (Duh! And yeah, I know, it looks like seeds)
Liquid to cook it in. I use veggie broth, but any broth or even water will be just fine
Perhaps a little salt or a bullion cube if you're using water

So, this is one of those really easy recipes.

1 unit of dry quinoa needs 2 units of liquid and makes 3 units of cooked quinoa

1 dry Q + 2 liquid = 3 ready Q  (<-- math for the engineers reading this)

I used cups for the measurements as I am in North America after all, but use the same formula whatever your unit of measure is. It could be an actual mug, you know. Just use the same one for both measurements.
First, put the liquid of choice in a large pot (remember, quinoa swells quite a bit) and put the broth/water to boil. Like said, you can use any kind of a broth or water. If you use water, drop in a bullion cube or a dash of salt.

While the liquid heats up, rinse your quinoa. I've read from various places it can be bitter tasting if you don't. Now, I've never tasted bitter quinoa, so I don't know, but better safe than sorry. If you have a mesh strainer, you're already ahead of me. I have one but the holes are too big. (You might want to check before you pour the quinoa in, otherwise you'll get a drain full of quinoa. Those little buggers are tiny.) If you don't have a strainer, just use a tupperware container. Dump in quinoa, add water and swirl around for a bit. Drain water and repeat.

Once the liquid is boiling add in the quinoa and turn the heat to low. Let boil for 15 minutes. Once the 15 minutes is up, check how much liquid is left. There should be a little bit, but the grain should not be floating. if it looks completely dry, add a little water. Then set aside for 5-10 minutes.

The quinoa is ready once the grains seem plump and all the liquid has been absorbed. I read somewhere you can actually make quinoa in a rice cooker as well. I haven't tried this, but the 1-to-2 ratio should work here too. Let the quinoa cool before mixing in the ingredients if you're making a salad.

So, now you have a whole lot of quinoa. What now? I always make a little dressing to mix in at this point. I'm just making sure it won't go clumpy, not sure if it's necessary, but I like it this way. The basic dressing is

2 parts lime juice
2 parts balsamic vinegar
1 part olive oil
dash of salt

Obviously, you can use any dressing you'd like, just mix it in the cooked quinoa. Super-tip: ready salad dressing, like Italian dressing, cuts down at least 5 minutes! I'd be careful with a creamy one, pick a vinegar/oil based one to make sure it stays good.

Super-pro tip: Keep the quinoa at this stage in the fridge until you want to eat it. You can make several meals with this base and just change the ingredients! It's really easy to make into lunch by adding a little extra dressing and a few varied ingredients. That way it'll taste different for the different meals. You could even divide it into smaller containers for extra fast lunch.
Then, the fun part. Add a bunch of tasty ingredients. My favourite combo is cherry tomatoes, avocado, bocconccini (mini mozzarella) and cilantro. I've also tried tomato-fresh spinach-feta cheese. Basically you could put in anything you'd put in a salad. Next one I'm thinking of is pear and feta cheese.

Keep in mind that these are just the salad-y ideas. There's a whole lot of different things you can use quinoa for, including warm dishes. I'm pretty sure it would taste awesome with curries and stews.

This recipe was put together by trial and error and by combining instructions from all over the interwebs, for example theKitchn and FamilyFreshCooking. Once you have the basic idea down, the possibilities are endless.

What would you add to quinoa? I'd love to try your ideas, so please leave a comment!

*popular demand = my sister
** working title

Friday, February 15, 2013

Friday Inspiration - Industrial

I'm not quite sure what sparked it this time, but I seem to notice industrial spaces everywhere. And furniture, and... well... Industrial anything.


It's a style I've been drawn to a long time, so this is not new in any way. It's just funny how sometimes I seem to see it everywhere.

Source: herblog.com via Katya on Pinterest


The details...


One can dream, right?

Thursday, February 14, 2013

What's up Montreal - McGill Students for UNICEF

Today is the first Market Cooperative.

"Montreal’s Market Cooperative is a community market held on McGill’s downtown campus. We bring together the McGill and Montreal communities by showcasing local artists, musicians, and people with great ideas. Come to our very first Marketplace, on February 14th, in the SSMU ballroom. See you there!"


I'll be there with a whole lot of other amazing Montreal talent. If you get a chance, please drop by! Let's spread the love on Valentine's day!

Wednesday, February 13, 2013

Ever thought about getting a customized stamp?

Well, now's your chance to get one without breaking the bank.

I found another good deal from our friends at the Plaid Barn! Do you remember, that's the daily deal site I've mentioned twice before?

Anyhow, I just thought today's deal was pretty cool. You can get your own rubber stamp. I've been thinking about getting one for a while, so I'm definitely getting this deal. It's only $5.50 + shipping and you can customize it up to 8 letters. So, you can get your name, initial or just one letter.


Again, my plan is not to spam you with advertisements here, but share a good deal if I find one. I thought this one has a lot of potential... Just imagine how easily you could add your name on your snail mail.

OH! I just thought this might work as a wax seal too... I'm not sure, so don't take my word for it, but I like the idea. I see a lot of potential with this deal, so I'm ordering one (at least). Order HERE

Tuesday, February 12, 2013

Pretty balconies and fire escapes

As you might remember from before, I am a sucker for architectural details. There's always a good chunk of pictures of buildings any time I travel. Obviously this trip to New York was no different!

New York City Jan 2013

I've been to NYC a number of times, but I just love these older, ornate buildings. I have a curious obsession with fire escapes especially.

New York City Jan 2013

We have them here in Montreal and I just swoon every time. I point them out to whomever I'm with and continuously get excited about them.

New York City Jan 2013

Let me tell you something... I have this romantic notion of one day living in a place where I'll have one of those fire escape landings outside my window. I can then crawl out the window to enjoy my morning coffee sitting on the landing, looking around in my dreamily urban, yet friendly neighborhood...

Sound good to you? Ok, then stop reading right here!

Monday, February 11, 2013

Monday Mail

Meager Monday Mail more like it... Well, took me long enough to get my letters on their way, so it's more than fair for me to wait! I'm currently preparing for an event on Valentine's day, so my home is once again filled with paper scraps.

Without further ado, onwards to the mail

Outgoing


Mail Love - Outgoing

One piece of mail. It has a bit of an old school airmail theme. Photo's terrible though, it was a bit of a rush, so I didn't have time to wait until the light was better.

Incoming


Mail Love - Incoming

Two postcards on the same day! One from Norway and the other from Helsinki! Thanks!

How has your week started off?