Showing posts with label Craftiness. Show all posts

Friday, October 16, 2015

Brinner at Arts Market

It's been a strange year, but many good things have happened too. Things have been moving along slowly, but now that I look back, I can see the progress.

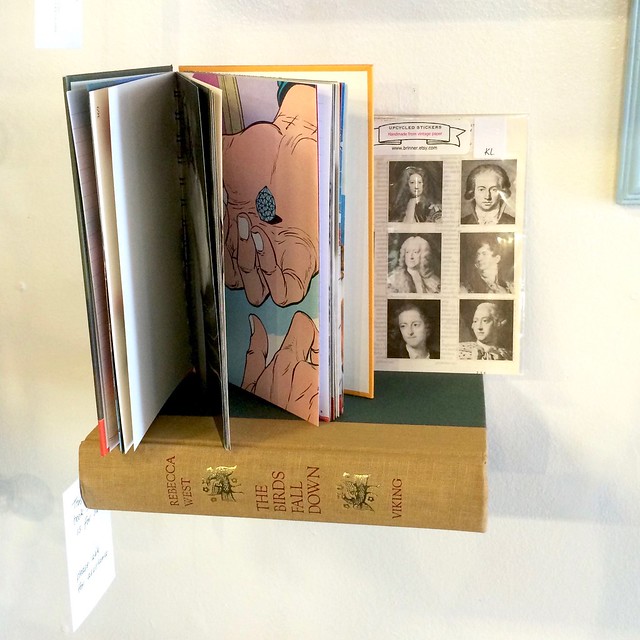
One of the more recent positive changes has been the new opportunities coming my way in terms of my shop. I've hoped to get a chance to sell my items in a brick and mortar store and finally a few weeks ago I was able to do just that! I opened my own little section at the Arts Market.

Brinner at Arts Market Leslieville

It's quite the challenge to put together a more permanent set up for a shop compared to a craft show table. At a show I'm constantly there, so I can rearrange products and immediately react if something doesn't look right. Shows are also only a few days at a time, so I don't need to think about the permanence of the display. In a shop you have to figure out how to display the product, how to keep the section tidy and, most importantly, how to make sure your customers can find what they want.

Brinner at Arts Market Leslieville 

Just because I understand the challenge, doesn't mean I have a solution. I'm working on it, so I'm sure I'll post the occasional update.

I am also working on another ongoing dream of mine. Besides expanding my business into a physical shop, I've dreamed of being able to run workshops and crafting related events. I'm currently finalizing the plans for my first ever open event! I'll share the details as soon as things have been finalized!

Monday, August 25, 2014

Monday Mail

Happy Monday everyone!

I had a whirlwind of a few weeks and looks like I've hit a calm before the invariable storm. I am hoping things calm down a bit soon, but I am busy with fun things, so I'm not really complaining. 

I thought I felt a hint of fall in the air the other day, but it's still looking full-blown summer here. I love fall, but I'm in no real hurry to get there. Does it look like fall where you are?

This week was exceptionally colorful when it came to mail. See for yourself:

Outgoing


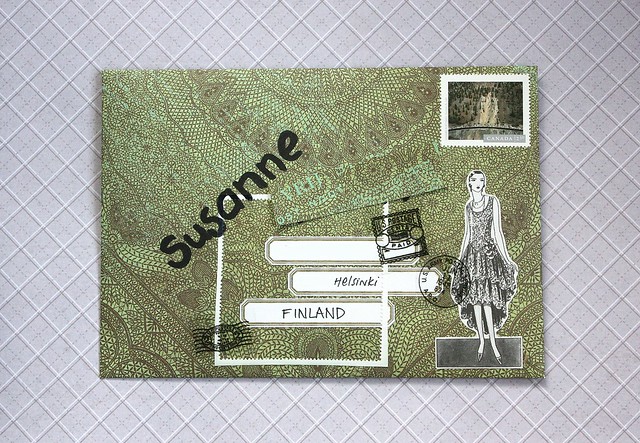
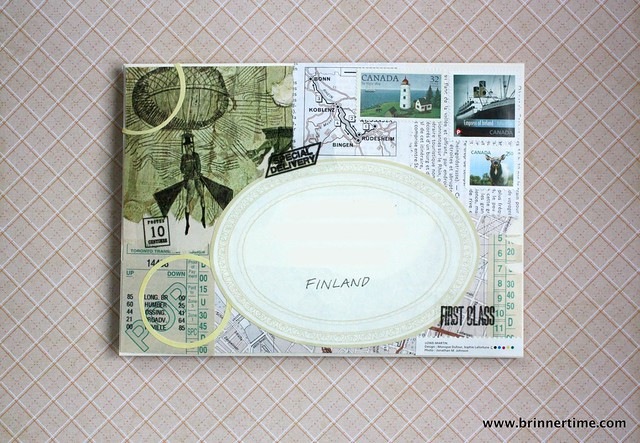
Vintage look, outgoing The first one is a vintage-inspired one. I tried several new things on it. I like how the address worked out on several small stickers. I also wrote the name with a sharpie and tried a quick collage again. Even the stamp is new, it's from the new photography series from Canada Post.

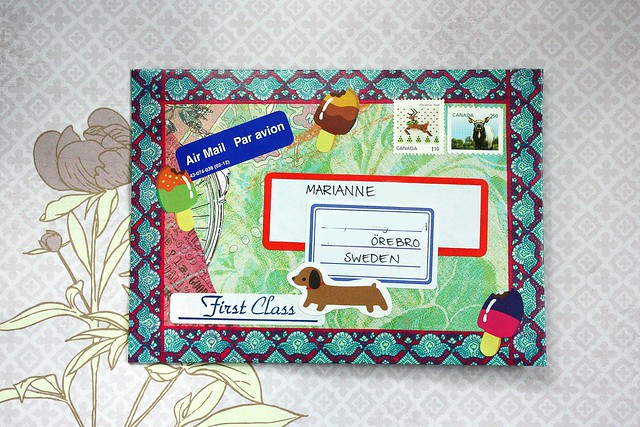
Icecream and dogs, outgoing August This colorful mail went out to Mary, who's had a couple of crappy weeks. I figured this would be a good time to send out silly colorful mail, with scratch and sniff ice-cream stickers. Obviously. If you follow my instagram, you've also seen a peek of the inside, the silliness continues.

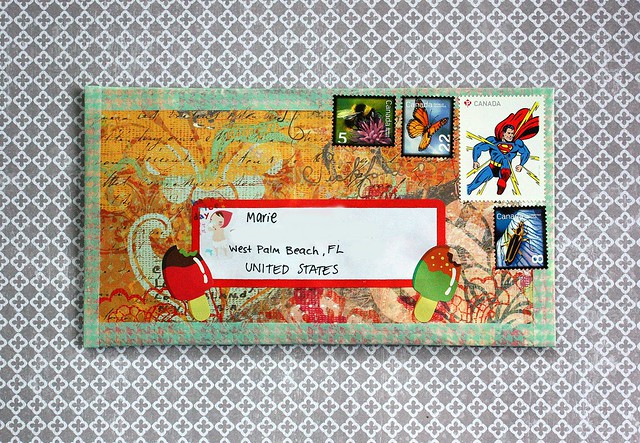
Colorful to Florida, Outgoing And finally there's the colorful letter going to Marie in Florida. This also has some ice-cream scented stickers and a overly-colorful envelope. It just felt right this week.

What do you have planned for this week?


Monday, August 18, 2014

Mail Monday

Happy new week, you guys! Did you have a good weekend?

I was extremely productive last week. I sent out several pieces of mail and was able to finish a whole lot of products for my shop. My sister came to town with two of her friends, so I've kept busy with them perusing (comic) book stores and yard sales.

All the following outgoing envelopes are orders from my shop! I like to add something extra to all my outgoing mail.

Outgoing

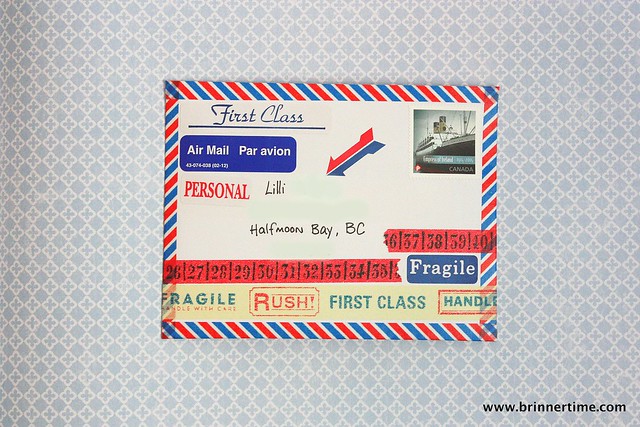
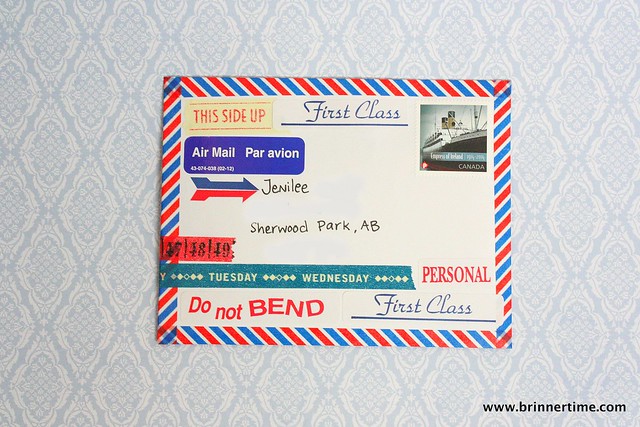
Airmail to BC, outgoing
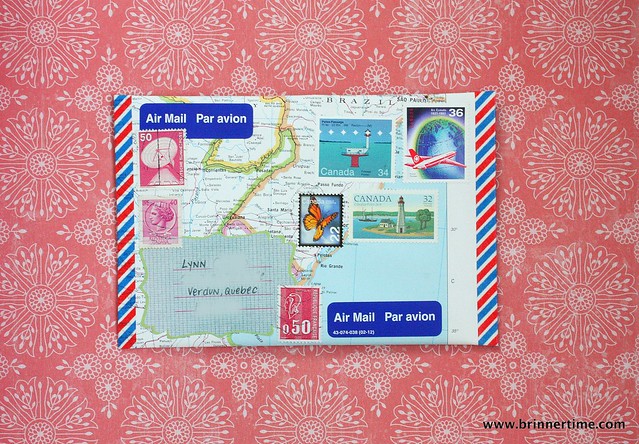
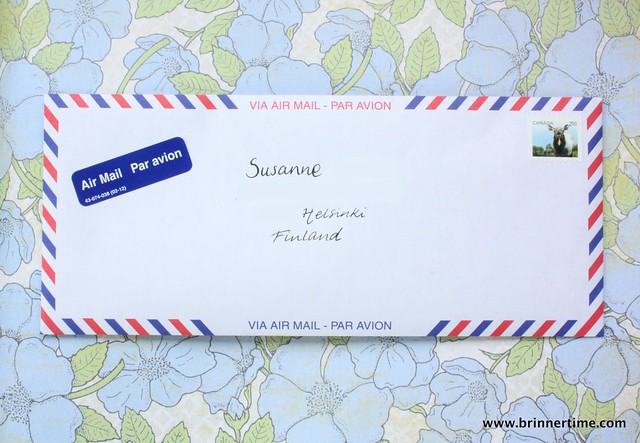
Airmail to AB, outgoing It's been a while since I made these crazy airmail envelopes. Since finding the airmail tape, I was itching to make them again. Let's see if it's out of my system now...

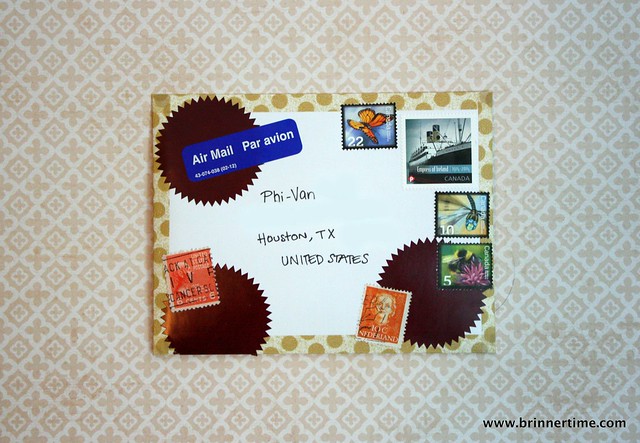
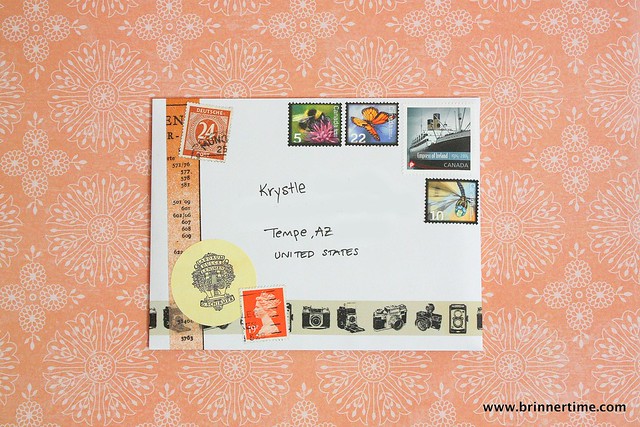
Tan and orange, outgoing Orange and tan combo going to Texas.

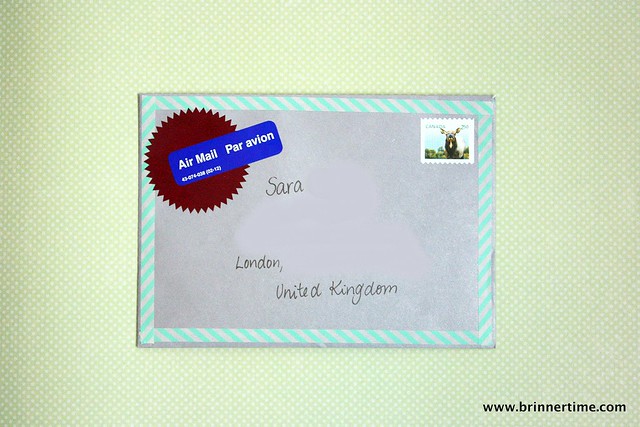
Silver and mint, outgoing Silver and mint off to the UK. This one is quite simple, but I really like it! The mint and the silver work really well together. I think I'll need to experiment with the combination again.

Orange, outgoing Another take on the tan and orange theme.

I had a few personal letters going out as well, but I only mailed them out yesterday. I'll share those on the next Monday Mail post* so they'll have time to arrive first!

Do you prefer to know you have a letter coming your way or do you prefer it a secret? Do you mind either way? Do you like to keep the ones you send a secret up until arrival?

Please share your thoughts on the topic in the comments!

*) See all the mail related blog posts by clicking the link or using the 'Mail Love' tag. 

For all mail mail photos, check my Mail Love album on Flickr

Monday, August 11, 2014

Monday Mail

First, let me welcome our new-comers to this blog! Welcome, welcome! How are you doing? Did you find your way here through the David's Tea Facebook page?

My brochures into gift tags post got some love from the company and they featured the tutorial on Facebook. I have to say, it's pretty exciting!

Even though it was a busy week, I've upped my outgoing mail a bit. Here's four things that went out:

Outgoing

Map letter, outgoing The first one is a very airmail-y, travel-y one going to my favorite librarian! If you follow me on Instagram, you've already seen a peek of this one!

 I've been looking for that airmail striped washitape for a long while, but only recently I found it from The Paper Place here in Toronto. I used some of my special vintage stamps and added some of the vintage stamp stickers too. The envelope is made from an old map.


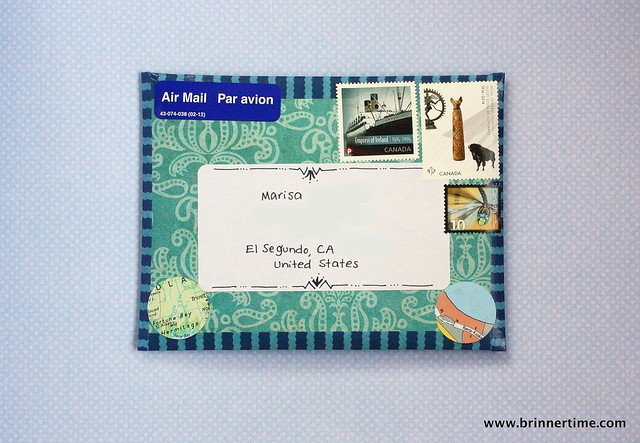
Green and blue, outgoing Next up we have a green and blue envelope heading to a place to leave-your-wallet-in, California. The envelope is made using the envelope template tutorial and lined with washitape like in this tutorial.

(See, I really make tutorials for things I use all the time!)

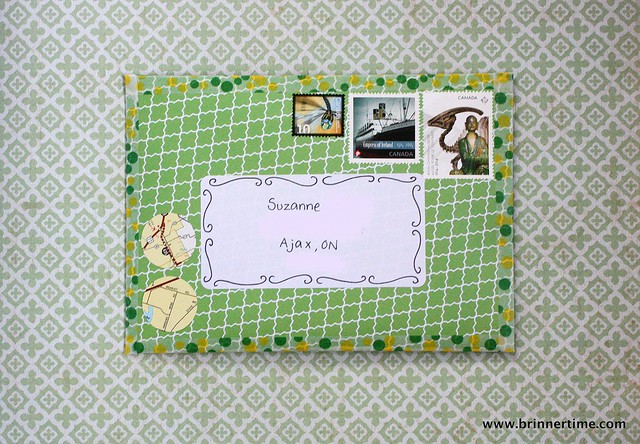
Green patterned, outgoing Another green patterned one, this time with some yellow accents.

airmail, outgoing And finally another airmail letter. I tried to write the address all fancy with a nib and ink, but the paper was not having any of that! So, not quite so fancy lettering on this one...


Happy Monday everyone! What do you have planned for the week?

Monday, August 4, 2014

Monday mail

Oooh! It's a day off today! How awesome is that? Don't ask me why we get today off, I don't know. Civic holiday? Well, it's a day off, that's what counts.

Last week was a slower week for mail, but busy in other ways. I apparently only sent one letter. I'm pretty sure I sent out something else too, but I don't seem to have a photo. So, it's possible I'm imagining things or forgot to take a photo.

Outgoing

Collage letter, outgoing

As said, only one documented letter going out this week. It's something else though... I started collaging and this is what came out in the end. I continued what I started last week and it was so much fun! I'm definitely going to keep doing this!

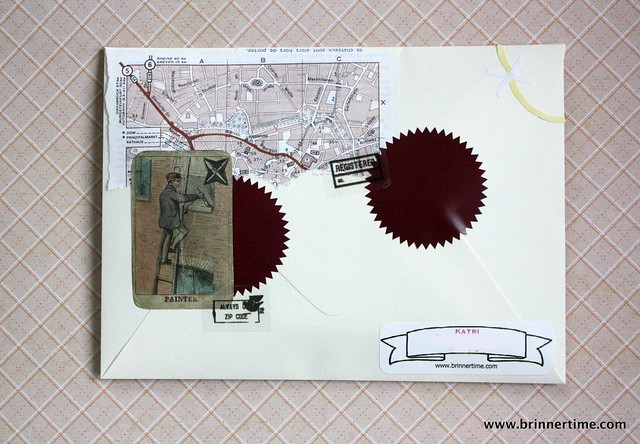
Collage letter, back, outgoing The front it the crazier one, but I added some fun stuff on the back too! 

I've been wanting to get more into making collages, but somehow I just haven't been able to get it going. I've tried a few separate times, but every time I feel like it's more stressful than fun. The results have not been interesting either. I guess this is the perfect medium for me for now. An envelope is small enough and you can make a huge impact quickly. I also feel it's easier when making it for someone else than myself. 

Have you done collaging? What inspires you? Oh, and can I see photos?

Friday, August 1, 2014

Mail Love - a letter from a hotel

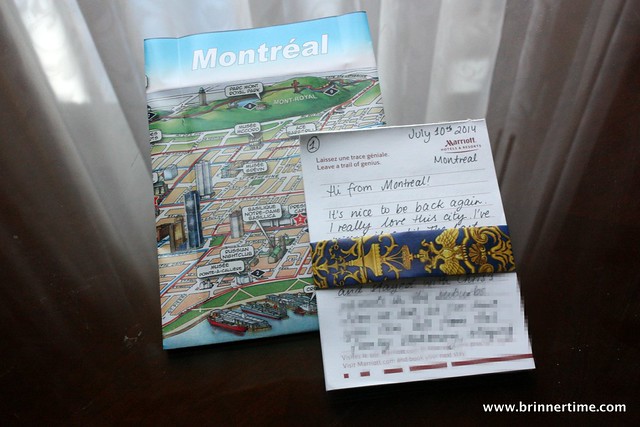
I was recently in Montreal and stayed at the Marriott Château Champlain hotel downtown. I was traveling light, so I only brought with me a pared down craft kit. I also wanted to try out making something with the limited supplies available, just to see what I can come up with.

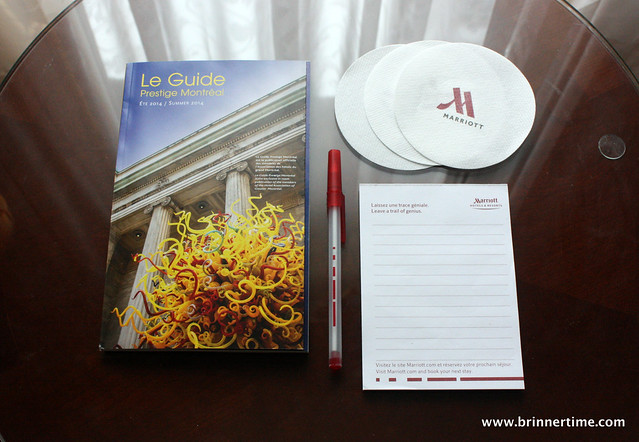
I scoured the room for things I could use* and this is what I found:

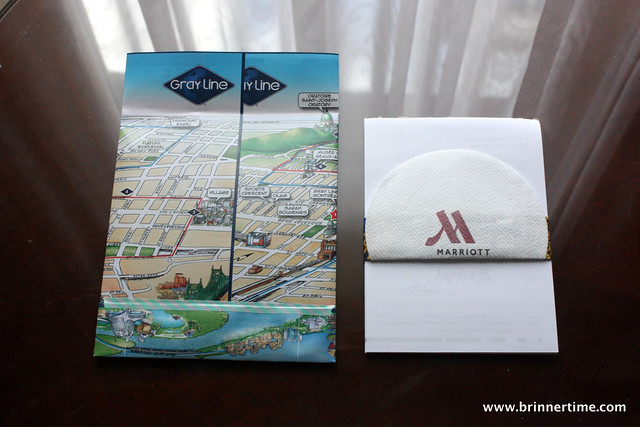
Hotel mail Montreal guide book, a hotel notepad, some brochures and paper coasters.

Many hotels still provide paper and a few envelopes, so those are often available as well. I wanted to be creative and was genuinely curious what I could come up with without resorting to the hotel stationery.

Hotel letter The letter part was pretty straightforward, I just wrote the letter on the pad. I flipped through the guide book and found a few pages I liked. I folded one to make the band around the letter.

I used a folded map from a brochure to make the envelope. (There are a few ways I've used smaller pieces of paper to make envelopes in a pinch. I can write a tutorial if anyone's interested)

Hotel mail
The page I chose for the band around the letter was just long enough to barely touch on the other side, so I had to improvise a bit. I folded a paper coaster and glued it on the back of the decorative band.

The back of the envelope is secured with a bit of the tape I brought with me.

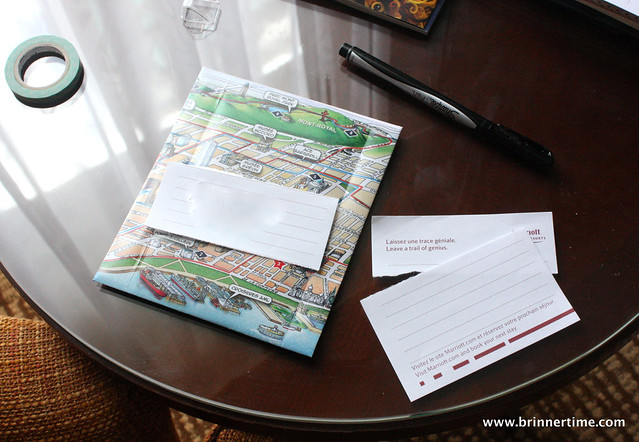
Hotel mail I tried a few different things for the address label. The coasters had a plastic coating on one side, so I wasn't sure the glue would stick on it. I also tried to find a page from the guide book to use, but in the end I felt i might as well go with the simplest solution. I ended up ripping a sheet from the notepad and using that for the address. At least that would be securely glued on the envelope.

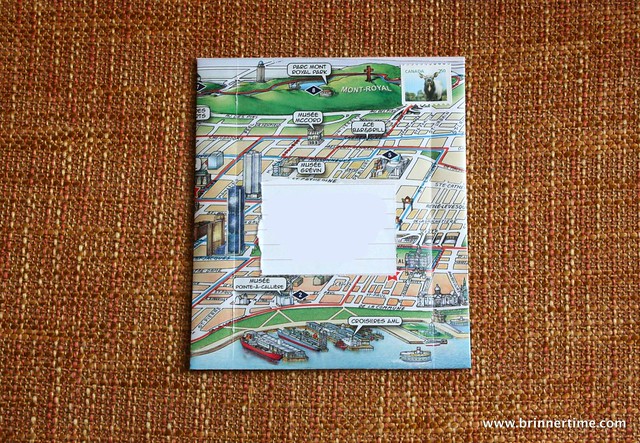
Here's the final look at the envelope:

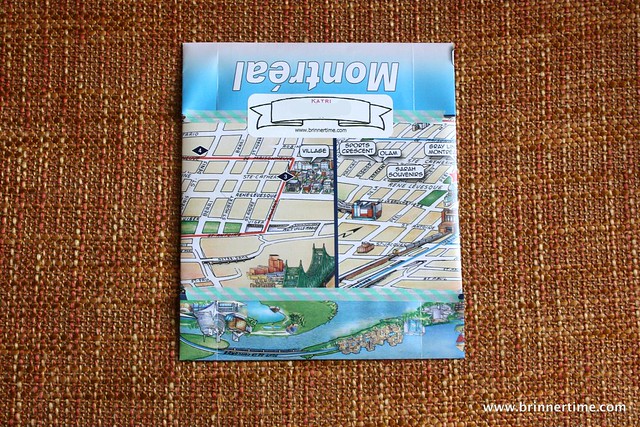
Hotel mail, front
Hotel mail, back Pretty simple DIY letter, but it's genuinely made from what I had at hand. It was actually pretty fun! This definitely started a whole train of thought on what kind of other things I could make. I think I'll try them out soon...

I challenge you to try it out, just try using simple things you have at home like flyers or ads you get in the mail. Please let me know if you try it out. I'd love to see what you come up with!

*) Remember, don't be a dick. Just use things that are legitimately there for your use or would be tossed after you leave. Brochures and disposable paper products such paper coasters or cardboard packaging are ok, anything in the hotel binder is probably not. Use your best judgement.

Thursday, July 24, 2014

Repurpose - the Stationery McGyver

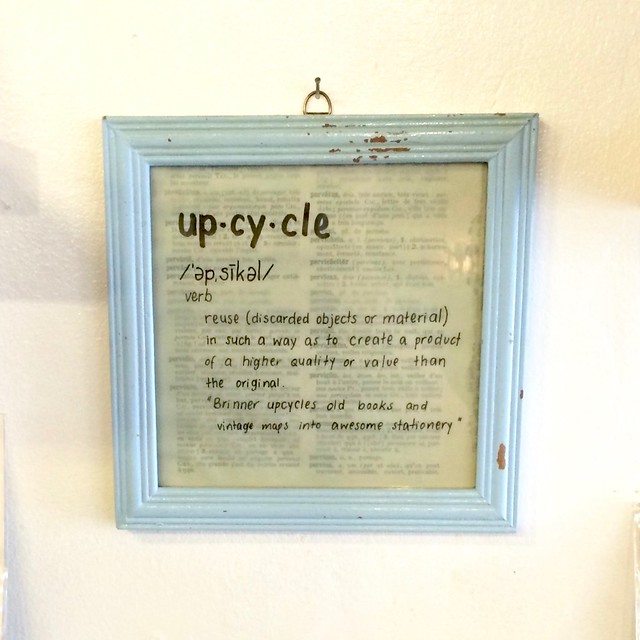
I repurpose a lot of items at home. I am very much aware of the environmental impact things like excessive packaging has and I recycle and... you know... all that. It's important, but thats not what this post is about!

Click here to go to the shop! I love the challenge of reusing something old. Rescuing items that are falling apart and turning them into something new. I mean, I run an online store based on that thought! I do that at home as often as possible and use the same principles while I travel. Even though recycling and reducing waste is important, the challenge is equally important to me. And, let's be honest now, when I get an idea, I need to work on it *right now.* So, I will use whatever materials I have at hand.

 Click here to go to the shop! I do also like the idea that being creative doesn't require a huge budget. Don't get me wrong, I am more that happy to spend money on good quality stationery, go a little nuts about pens and don't get me started about what happens to me in bookstores... This doesn't mean that you *need* a lot of money to make things. Some basic supplies from the dollarstore (or the equivalent from your country) can get you pretty far.

 Click here to go to the shop! Reusing things is almost a second nature to me, so I wanted to start sharing some of the things I do. A lot of the things I make right now are snailmail-related, just because I have limited time on my hands nowadays. I have many projects planned that have nothing to do with mail, those are coming as soon as i have time to finish them.

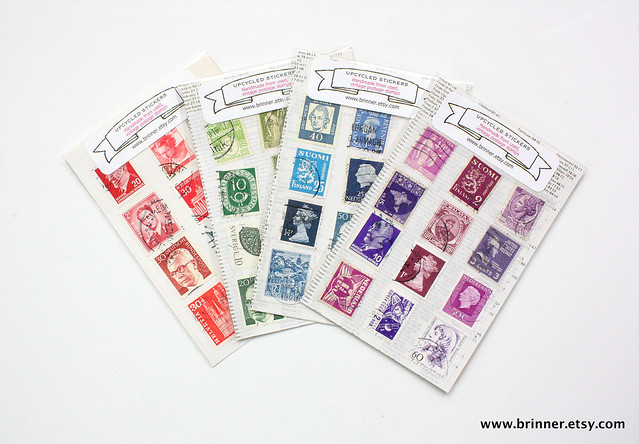
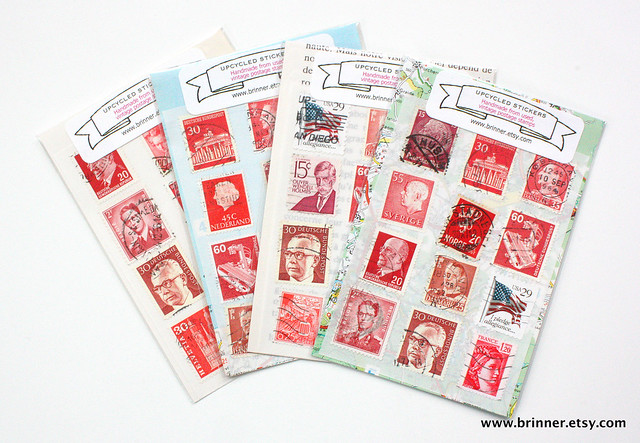
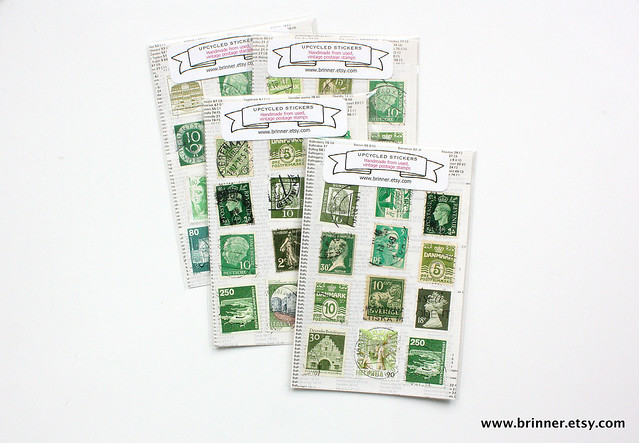
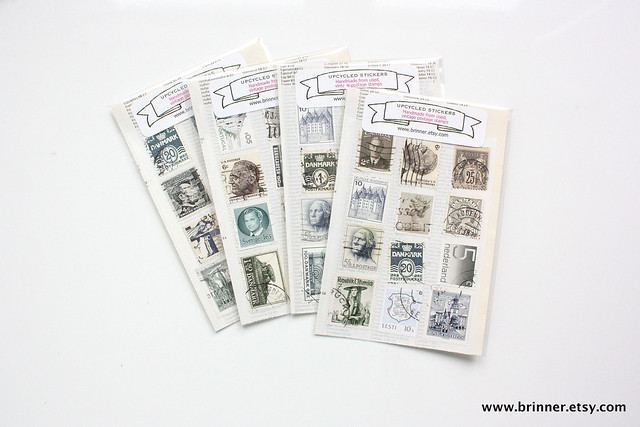
 Click here to go to the shop!Photos on this post are of the vintage stamp sticker packs sold in my online shop! Click HERE to see them!

While I work on some upcoming projects, please share with us:

What's the repurpose project or trick you're the most proud of?

Saturday, July 19, 2014

Mail Love - Letter from the beach

I live just up the street from the beach (yes, Toronto has them) and finally managed to go enjoy it a few weeks ago. We've been walking on the boardwalk numerous times and I've even gone jogging along the beach, but we've never really just gone to spend a leisurely afternoon there. We had a picnic by the beach a few weeks ago on Canada day and it was awesome. Will definitely do that again soon!

In that one afternoon I managed, besides eating a picnic lunch and strolling on the beach a bit, write one letter. I don't usually show the insides of the letters much, but this was a fun little collection of beachy things, so I figured I'd share it.

Outgoing mail, July 2014

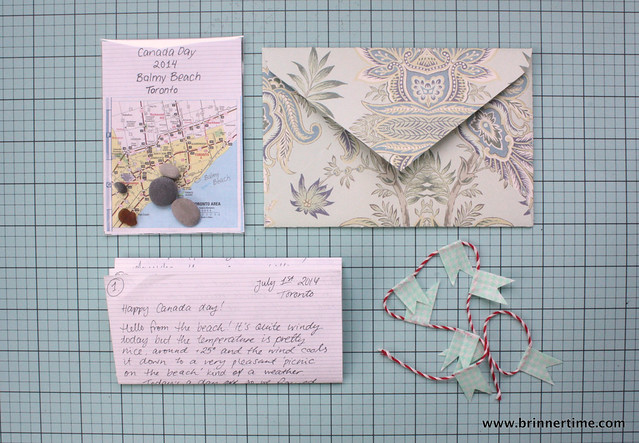
Once I got home with my letter, I made an envelope out of appropriately patterned paper (see the tutorial HERE for how to make envelopes). I also wanted to add a little extra flair, so I made a teeny tiny string of flags to tie the letter with. It's very easy to make, but if you want a tutorial, let me know. I'll be happy to write one!

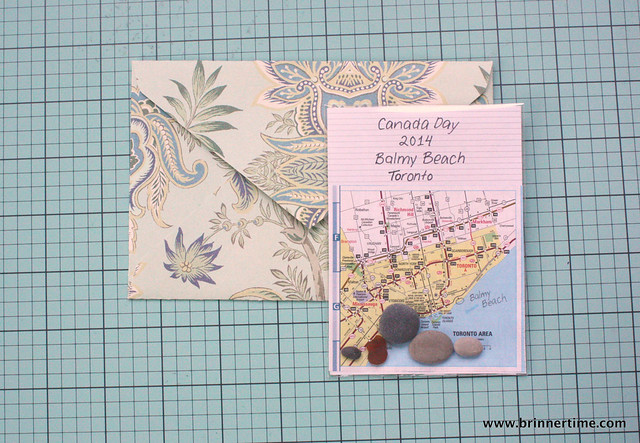
The beach here is mainly sand, but has some nice smooth rocks as well. I wanted to find a few nice pieces of sea glass to add to the letter, but it was practically nonexistent, I only found one tiny piece. I did find some tiny round rocks though.

Outgoing mail, July 2014 I didn't want to send a few rocks (and that one scrawny sea glass) just by themselves, so I made a little souvenir out of them. I went through my stacks of maps and found a small one of Toronto. I cut it to size, marked where the beach is and sealed it all into a little plastic sleeve. Finally, I tied the whole lot together with the string of flags.

It turned out quite nice, so I'll certainly use this for inspiration for future mail.

Out of curiosity, what's the most random thing you've either sent or received in the mail?

Wednesday, July 16, 2014

Mail love - pink and aqua

I've been sending more and more mail recently, so I'm getting to more current mail with these posts. Once I get back to my regular pace again, I'm hoping there will be more and more interesting things to share.

Sometimes it's the color of the envelope and the stamps used that makes a piece for mail to stand out. I strive to make each piece of mail I send unique and fun, but sometimes the contents need to be sent out faster than I can make something time consuming. In those cases I still try to coordinate the envelope and the stamps if possible.

Pink Outgoing mail, brinnertime.com
Aqua Outgoing mail, brinnertime.com Even though these are fairly simple, I really like how they turned out!

If you're short on time but really want to decorate the envelope, what's your go-to trick?

Monday, July 14, 2014

DIY - Bright confetti mail

I really love transparent and see-through mail. I've sent some before, you can see examples HERE, HERE and HERE, and I felt it was time for more.

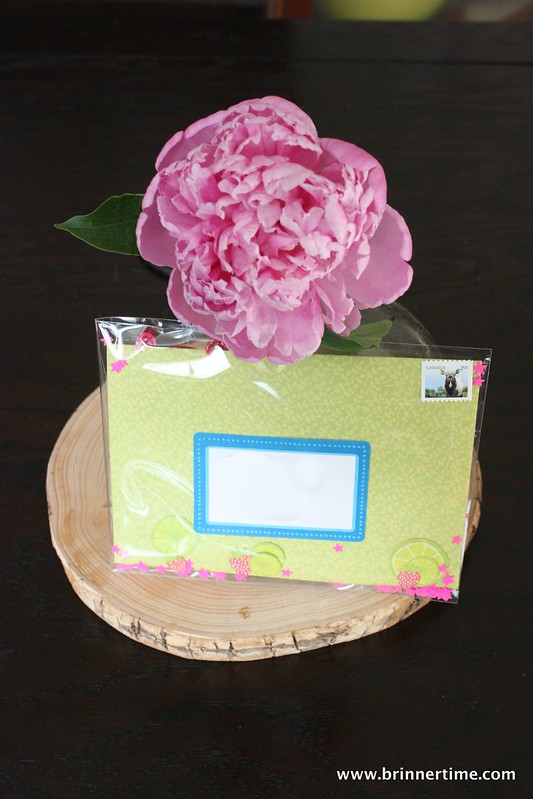
Transparent mail with confetti
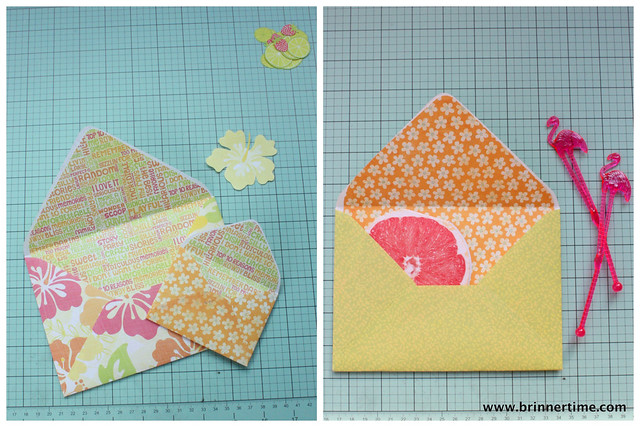
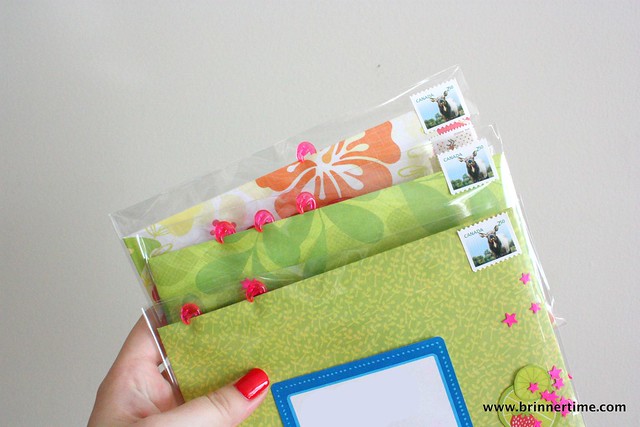
This time I sent out a few birthday cards and some crazy-colorful beginning of summer mail. I found some hot pink flamingo cocktail sticks, so those naturally had to be included in the mail. I made envelopes out of the most colorful and summery paper I had.

Summer mail
For detailed instructions how to make envelopes check out THIS tutorial.

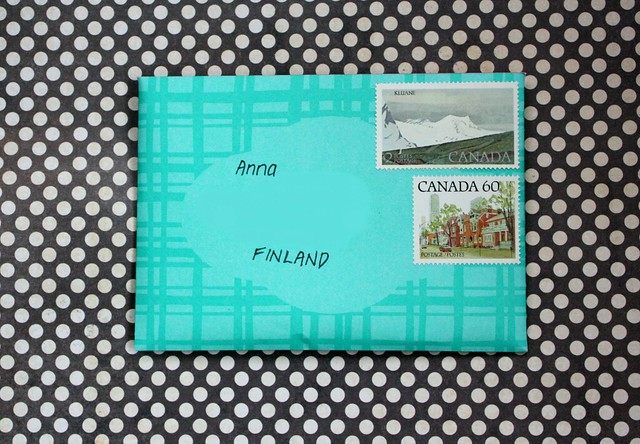
I wanted the theme to continue on the inside as well, so I used different kinds of colorful cards. I also cut out flowers and other pictures from the leftover paper, as well as used a paper punch to cut out tiny shapes from a neon paper.

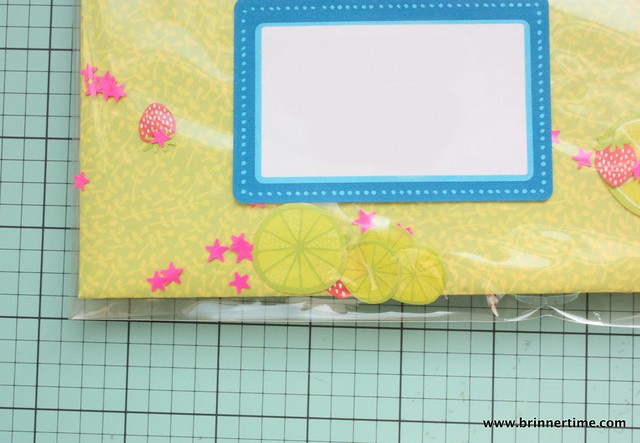
Transparent mail with confetti, closeup
I finally packed the envelopes in a plastic sleeve. If you don't have any, you can also make see-through envelopes using THIS tutorial.

Seethrough mail with confetti This was a very simple project, but so much fun. I think the confetti really adds something special!

Wednesday, July 9, 2014

Travelling crafter - the bare essentials

When I travel I like to have the option to do a little bit of crafting if the creative mood strikes me. I use my daily planner as a scrapbook alternative and I try to send at least a few postcards, maybe even a short letter if I get the chance. Because of the potential for little crafting, I like to be prepared whenever I'm on the road, so to say.

I have written about a more extensive traveling mail art/craft kit before HERE

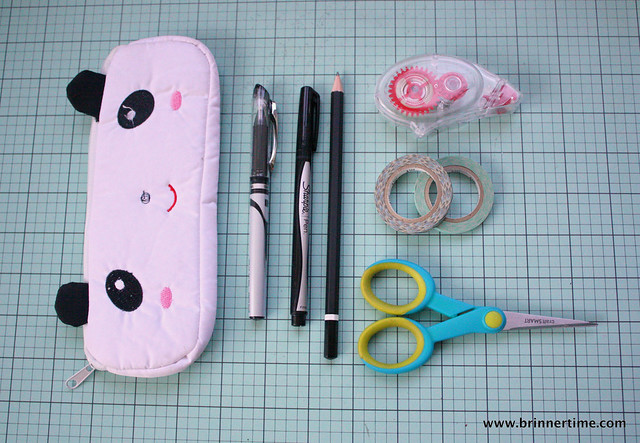
This time I'm only in Montreal, a city I lived in for 8 years, so I don't really feel like I'm *really* traveling. I am, however, away from my regular masses of craft supplies, so I put together a few essentials. I only packed a carry-on for my flight, so this means there is no extra room for things I might not absolutely need. This also means I had to  really figure out what are the absolute necessities. This is what I came up with:

Travel craft kit

Two pens (2 for pen related catastrophes or various writing surfaces, of course)
A pencil
Glue roller
Two rolls of thin washi tape
Scissors (which I realized later I couldn't bring after all. You know, because flying)

And, as before, everything is packed in the highly professional, not to mention adult-y, panda pouch. For street cred, obviously.

I'm thinking I probably could've managed without the tapes and maybe with one pen (but having only one pen is just madness..).

Anyhow, I'll report back how I did with this kit.
 
What do you think? Did I forgot something? Would you take more items? Less? What would you pack?

Friday, July 4, 2014

DIY - How to make awesome envelopes

I have several fun projects I want to share with you guys and I want to start with a tutorial for something I use all the time; DIY envelopes!
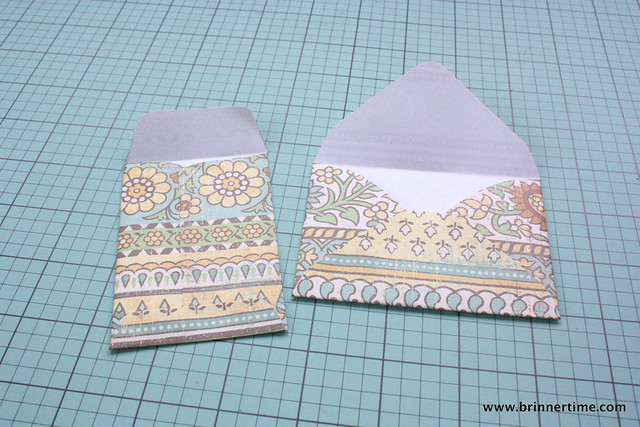
Envelope template tutorial, www.brinnertime.com I make envelopes on weekly basis, some for my own use and some for my shop. They're super fun to make and I have to admit I sometimes make them just because I found a cool piece of paper...

There's probably a ton of different ways to make envelopes at home, but I prefer to use a template*. I have at least 10 different ones I've made for myself and will, for sure, keep making more. I am very particular about what kind of envelopes I like, so when I see a shape and type of an envelope I like, I make it into a template.

So, to get started, find an envelope (or a few) that you like**.
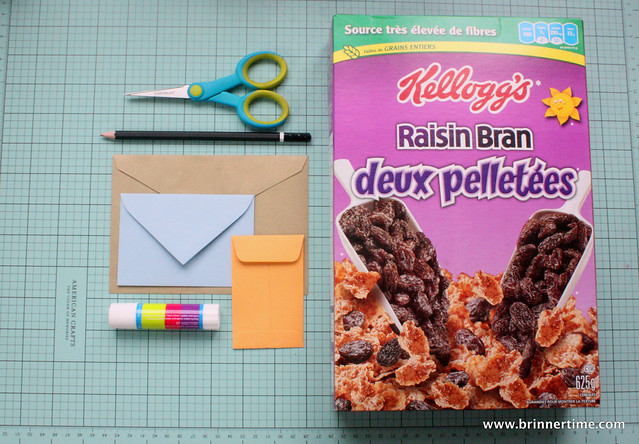
Envelope template tutorial, www.brinnertime.com You'll need:

for the template
- envelopes
- scissors
- pen or a pencil
- cardboard (any sturdy material will work, I use a lot of cereal boxes) size depends on how large of an envelope you are making

for the envelopes
- paper (I'm using scrapbooking paper for this tutorial, but anything you like works; wrapping paper, book pages, etc)
- glue
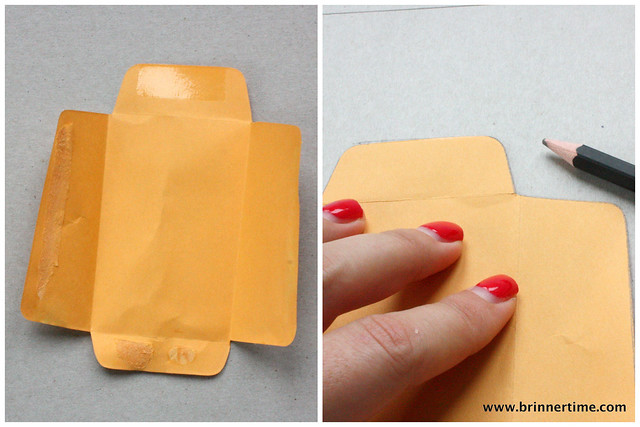
Envelope template tutorial, www.brinnertime.com First, take part your envelope by opening it from the glued edges. Do not cut it, just pull the glued sections apart. Don't worry if the envelope rips a bit, this is exactly why we're making a sturdy template, not using the original envelope. If the envelope that you're using does not come apart easily or if you're using one made from a very delicate material, you can always soak the glue***.

Once you have the envelope opened, trace the outline carefully on to your cardboard. If your envelope is badly ripped, made of very delicate material or you're not comfortable in your tracing abilities, then glue the envelope directly on your cardboard.

Cut out your template.
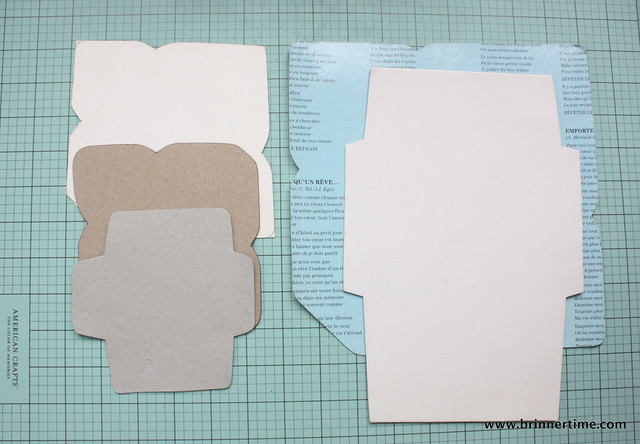
Envelope template tutorial, www.brinnertime.com You now have a template to start your envelope-making with!

To make an envelope with you brand-spanking-new template is super easy (and really fun, be aware that you'll make a ton).

Start by selecting a paper. (So much fun!) Experimenting with different types will give you very different and cool results. Try small patterns vs. large images or gift wrapping paper for different effects.
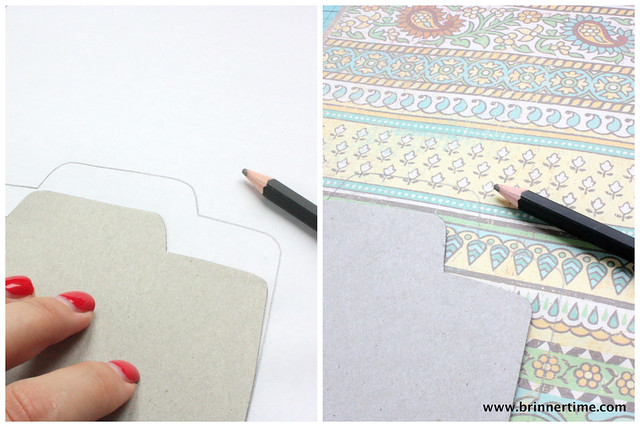

Envelope template tutorial, www.brinnertime.com Trace the template outline on to your paper. Depending on the paper you choose and your own preference, you can either trace on the 'wrong' side of the paper or on the pattern side.  Think about the direction of your pattern as well. You don't want someones face upside down on the front of the envelope (or maybe you do, that could be kind fun too). Experimenting is the key again, but if you're trying this out for the first time, I recommend tracing the shape on the side of the paper you want to be the outside of the envelope. That way you have more control what will be displayed on the front.
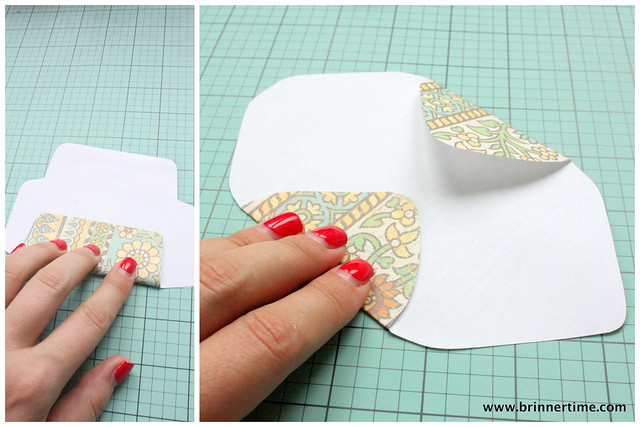
Envelope template tutorial, www.brinnertime.com Cut out your envelope shape and fold the sides. Most envelopes are constructed the same way: first the side flaps and then the bottom one. Fold all sides before gluing just to make sure it looks the way you wanted.
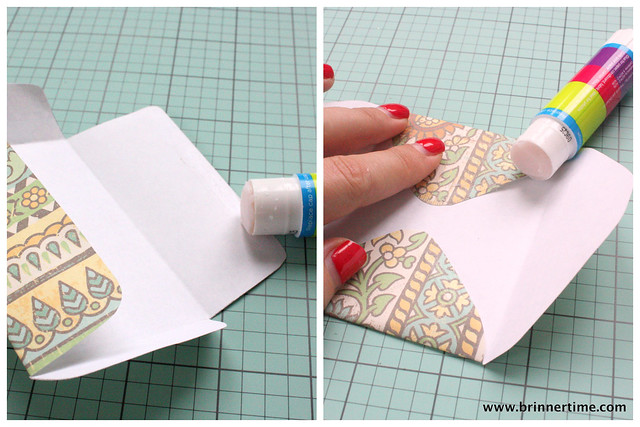
Envelope template tutorial, www.brinnertime.com Glue the flaps. Usually the bottom flap onto the side ones, but depending on the shape you might need to glue the side flaps together first (see the photo on the left).
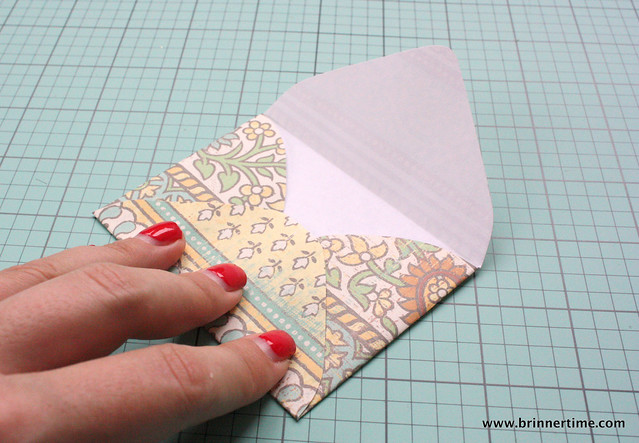
Envelope template tutorial, www.brinnertime.com Apply some pressure to make sure they stick together firmly. If I'm not using the envelope immediately, I like to press the envelopes. Just put them inside or under a heavy book until the glue sets****.

There's so many things you can do with the templates. Check the transparent envelope tutorial HERE or the coloring book envelope tutorial HERE

I'd love to see the envelopes you make. Please share if you make some!


Footnotes:
* if you don't want to make one, you can buy ready made templates at very reasonable prices. For example: check Paper Pastries Shop for one HERE

** If you don't have any unused ones at home, check mail that you received (yes, even bills). There are also plenty of free printables online.

*** To soak, just immerse the envelope in a little bit of water. As soon as the glue comes apart, take the envelope out of the water and on to some newspaper (or kitchen/paper towel) to dry. Once dry, continue with the rest of the steps.

**** Just don't use a book you still plan on reading. I have a heavy book that's slightly damaged I use to press my envelopes in. This way any spilled glue doesn't ruin your favorite book.

Thursday, July 3, 2014

Tinkering away

My head is bursting with ideas for projects and tutorials! I think it's the long creative drought I went through in the last year that is now over and the crafty ideas are coming back in a tidal wave of paper and glue!

The Beaches, Toronto
[See what I did there?!? What clever way to use these photos! Right? ... *crickets*]
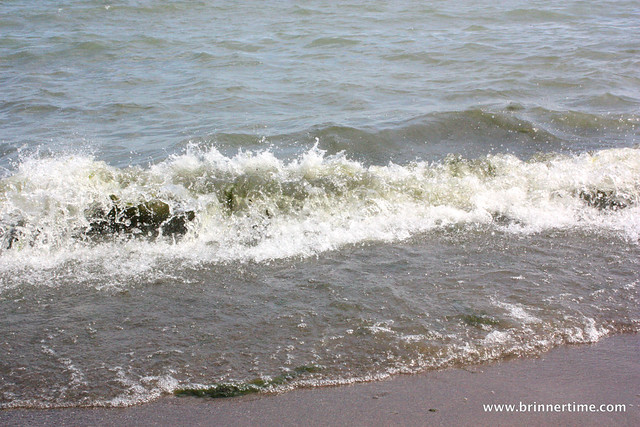
I have a few already started, one with photos in the editing stage, so they're coming soon. I'm finding it hard to write an entire post in one sitting now, so I'm trying to learn how to work a little bit on several things at one time. It's a bit of a challenge, but I'm trying to get a hang of this new way of working.

The Beaches, Toronto
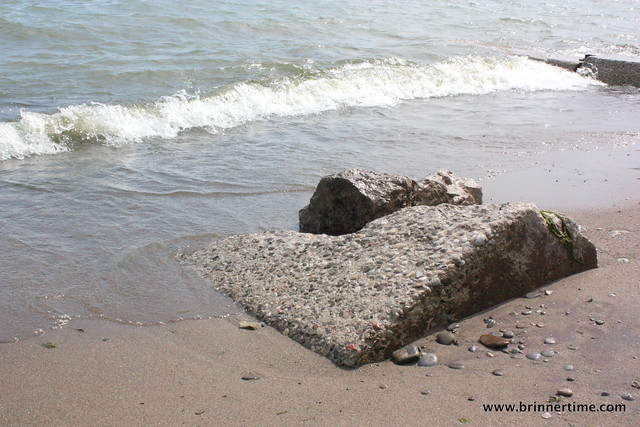
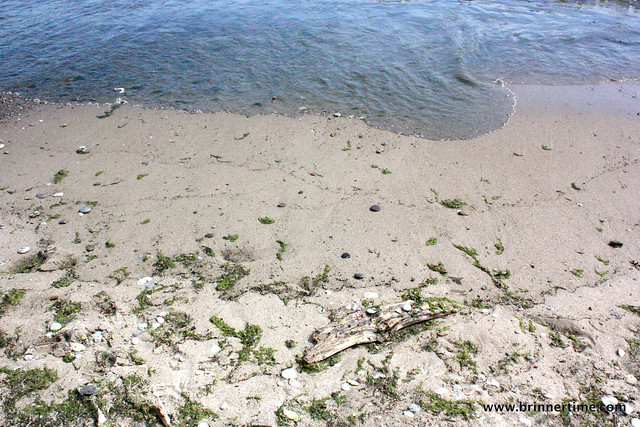
I'm also getting used to not only carrying my camera with me more often, but also trying to take a whole lot more photos. The ones for this post are taken on the beach just a few days ago.

The Beaches, Toronto
Hope you guys are well! And might I add, I'm still so happy to see so many people visiting my blog!

To see more up-to-date photos of what I'm working on, please check my instagram!

Sunday, June 22, 2014

Mail Love - Outgoing letters

The letters are still slow going out, but there has been a few I'd like to share.

Black and White Outgoing mail, brinnertime.com
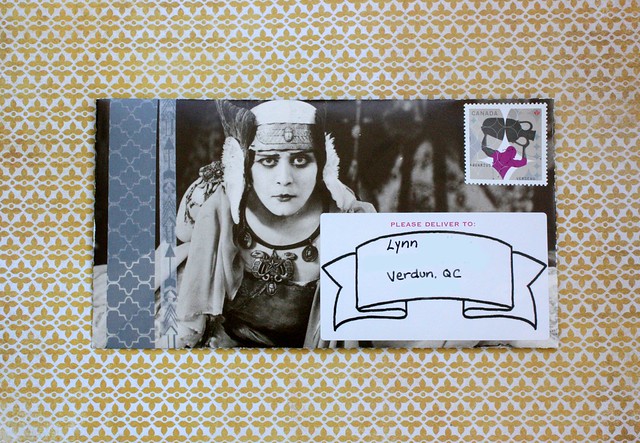
This first one is something I've been wanting to try out for a while. I found this amazing black and white book about old movies and was experimenting with the pages. The paper is really nice and thick, but the glossy finish makes it hard to handle. After some trial and error, I've figured out how to work with it, so I think I'll introduce a new product to my shop soon. I felt it just had to be made into envelopes... That's one intense lady right there...

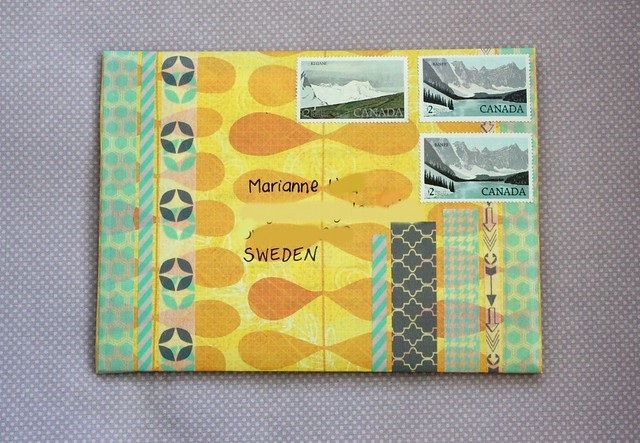
Yellow Outgoing mail, brinnertime.com There's been some pretty colorful mail too. The weather was exceptionally grey, so some bright yellow mail was in order. Can you tell I had just gotten some new washitapes?

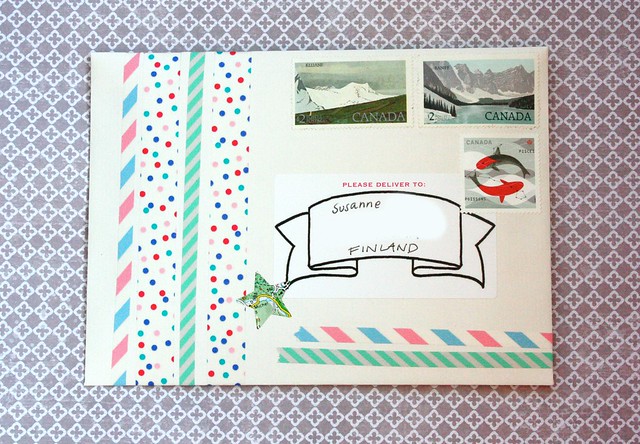
Dots and stripes Outgoing mail, brinnertime.com

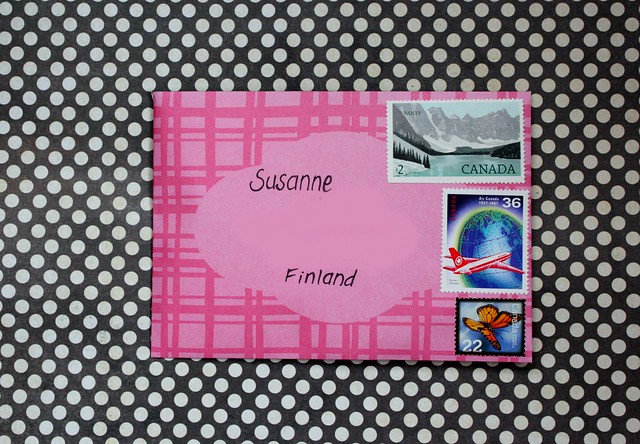
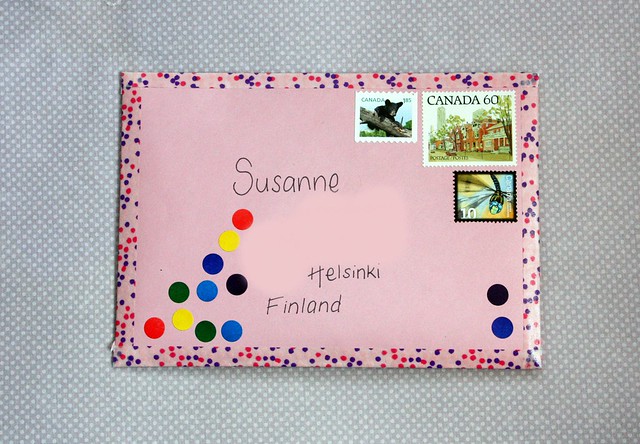
Dots Outgoing mail, brinnertime.com Talking of new washitape... Super polkadotty mail. Coincidentally both to Susanne.

This is actually quite interesting... Without this blog, I wouldn't have a clue what kind of mail I tend to send out. So far it seems like I like polkadots.

Can you identify unintentional themes or looks for your mail?