I have several fun projects I want to share with you guys and I want to start with a tutorial for something I use all the time; DIY envelopes!

I make envelopes on weekly basis, some for my own use and some for my shop. They're super fun to make and I have to admit I sometimes make them just because I found a cool piece of paper...
There's probably a ton of different ways to make envelopes at home, but I prefer to use a template*. I have at least 10 different ones I've made for myself and will, for sure, keep making more. I am very particular about what kind of envelopes I like, so when I see a shape and type of an envelope I like, I make it into a template.
So, to get started, find an envelope (or a few) that you like**.
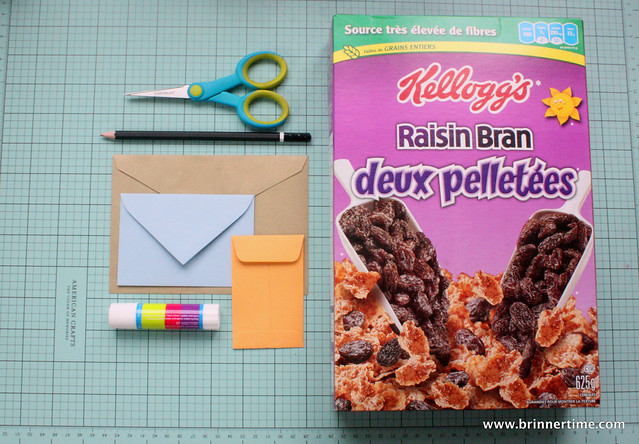
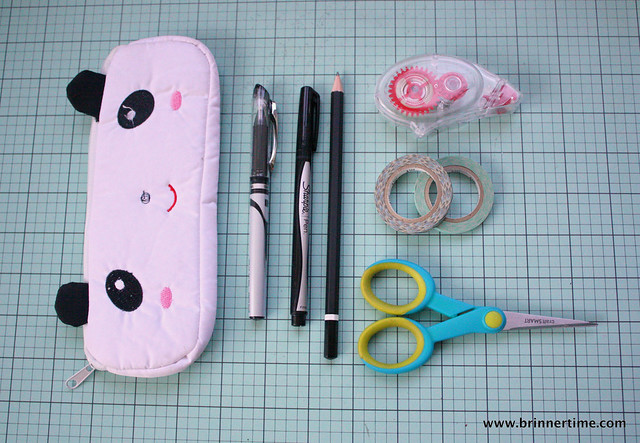
You'll need:
for the template
- envelopes
- scissors
- pen or a pencil
- cardboard (any sturdy material will work, I use a lot of cereal boxes) size depends on how large of an envelope you are making
for the envelopes
- paper (I'm using scrapbooking paper for this tutorial, but anything you like works; wrapping paper, book pages, etc)
- glue
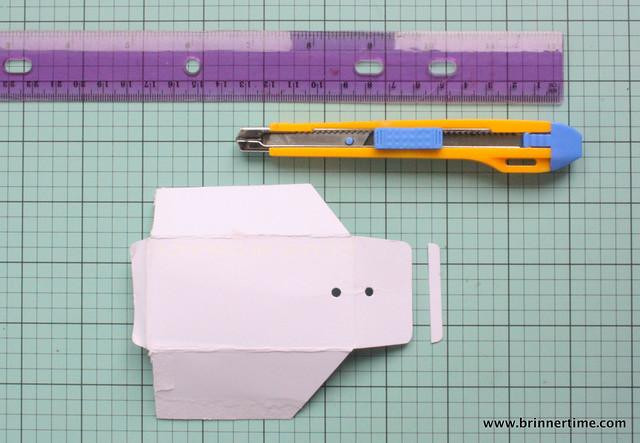
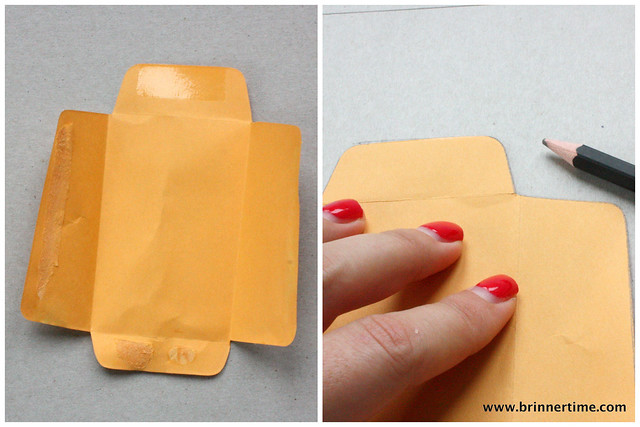 First, take part your envelope by opening it from the glued edges
. Do not cut it, just pull the glued sections apart. Don't worry if the envelope rips a bit, this is exactly why we're making a sturdy template, not using the original envelope. If the envelope that you're using does not come apart easily or if you're using one made from a very delicate material, you can always soak the glue***.
Once you have the envelope opened, trace the outline carefully on to your cardboard. If your envelope is badly ripped, made of very delicate material or you're not comfortable in your tracing abilities, then glue the envelope directly on your cardboard.
Cut out your template.
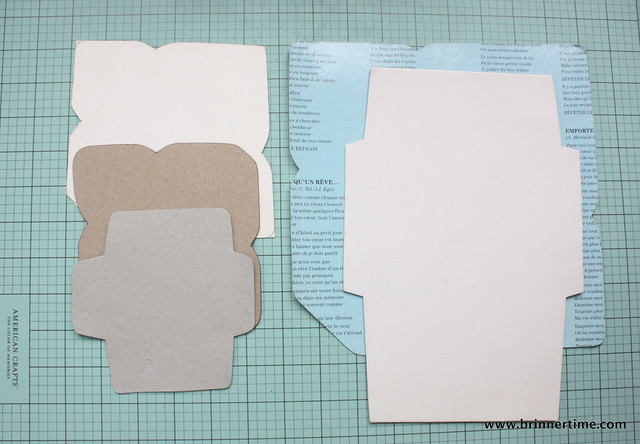
You now have a template to start your envelope-making with!
To make an envelope with you brand-spanking-new template is super easy (and really fun, be aware that you'll make a ton).
Start by selecting a paper. (So much fun!) Experimenting with different types will give you very different and cool results. Try small patterns vs. large images or gift wrapping paper for different effects.
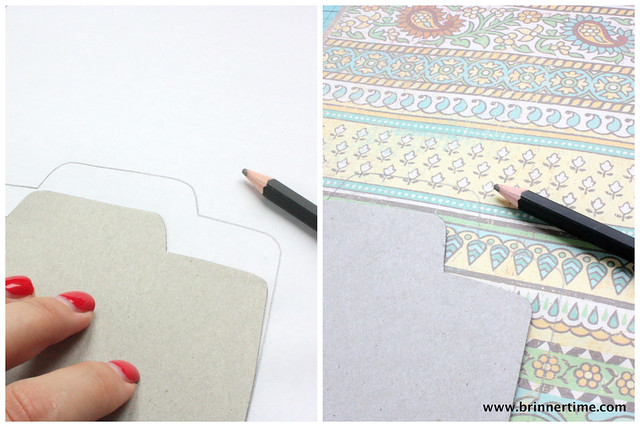 Trace the template outline on to your paper
. Depending on the paper you choose and your own preference, you can either trace on the 'wrong' side of the paper or on the pattern side. Think about the direction of your pattern as well. You don't want someones face upside down on the front of the envelope (or maybe you do, that could be kind fun too). Experimenting is the key again, but if you're trying this out for the first time, I recommend tracing the shape on the side of the paper you want to be the outside of the envelope. That way you have more control what will be displayed on the front.
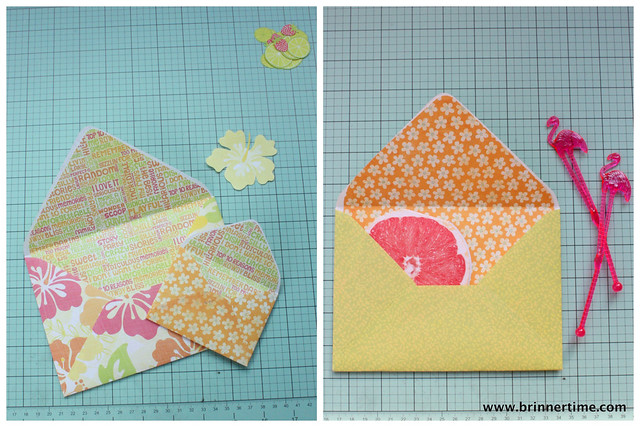
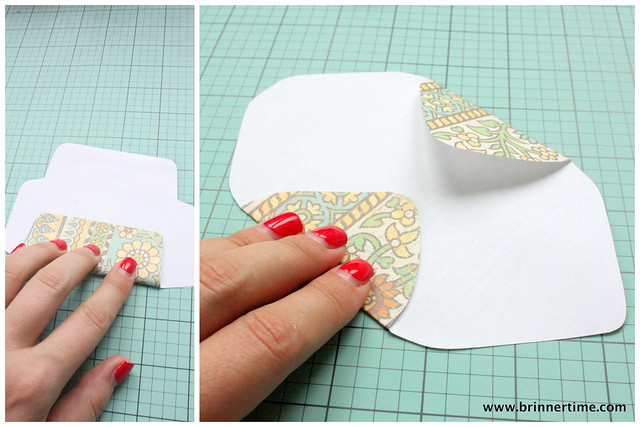 Cut out your envelope shape and fold the sides
. Most envelopes are constructed the same way: first the side flaps and then the bottom one. Fold all sides before gluing just to make sure it looks the way you wanted.
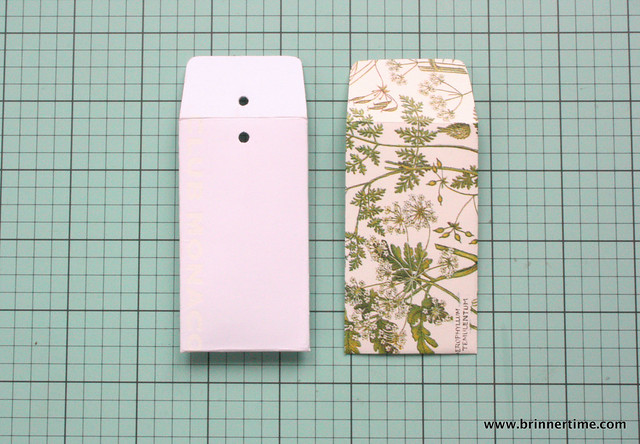
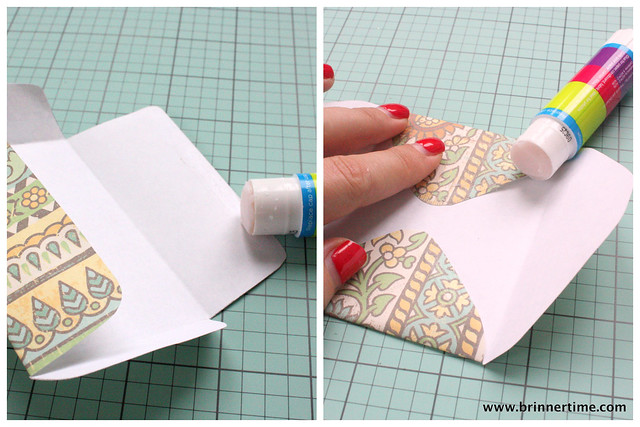 Glue the flaps.
 Usually the bottom flap onto the side ones, but depending on the shape you might need to glue the side flaps together first (see the photo on the left).
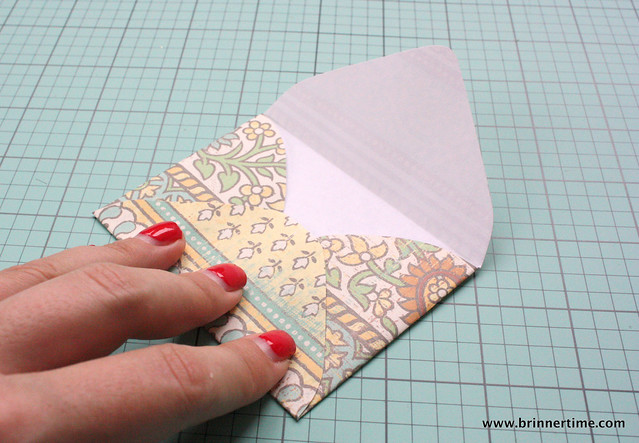 Apply some pressure to make sure they stick together firmly
. If I'm not using the envelope immediately, I like to press the envelopes. Just put them inside or under a heavy book until the glue sets****.
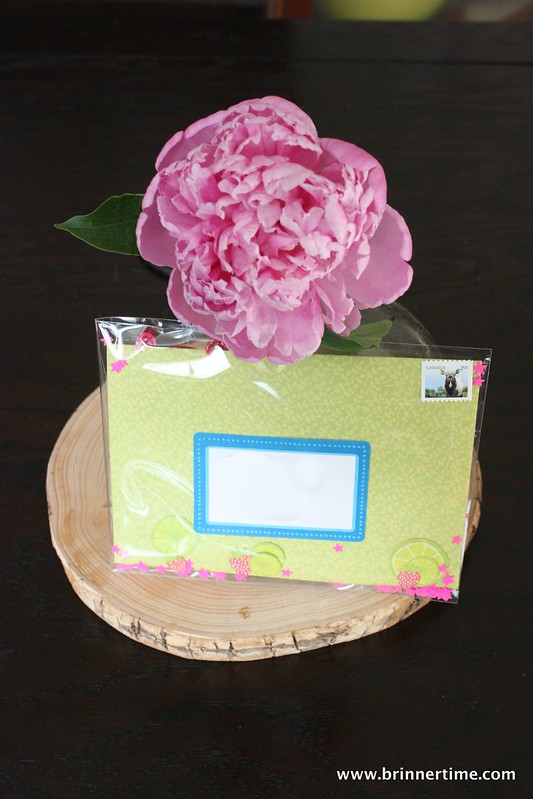
There's so many things you can do with the templates. Check the
transparent envelope tutorial HERE or the
coloring book envelope tutorial HERE
I'd love to see the envelopes you make. Please share if you make some!
Footnotes:
* if you don't want to make one, you can buy ready made templates at very reasonable prices. For example: check
Paper Pastries Shop for one HERE
** If you don't have any unused ones at home, check mail that you received (yes, even bills). There are also plenty of free printables online.
*** To soak, just immerse the envelope in a little bit of water. As soon as the glue comes apart, take the envelope out of the water and on to some newspaper (or kitchen/paper towel) to dry. Once dry, continue with the rest of the steps.
**** Just don't use a book you still plan on reading. I have a heavy book that's slightly damaged I use to press my envelopes in. This way any spilled glue doesn't ruin your favorite book.

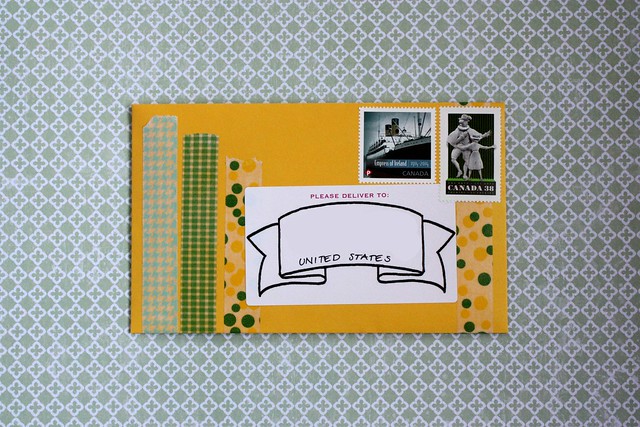
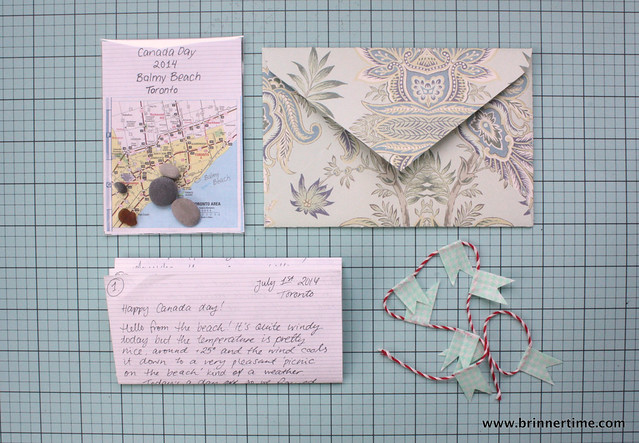
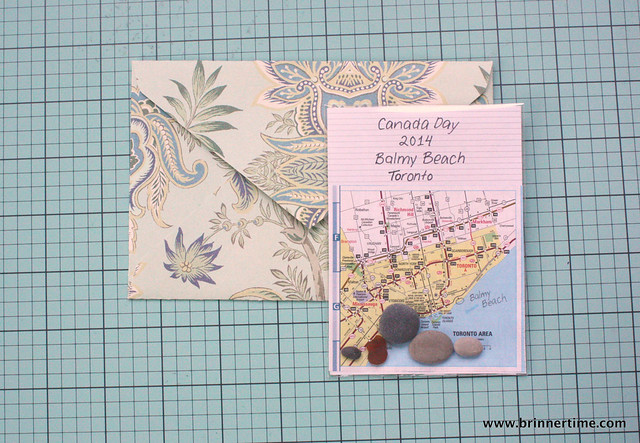
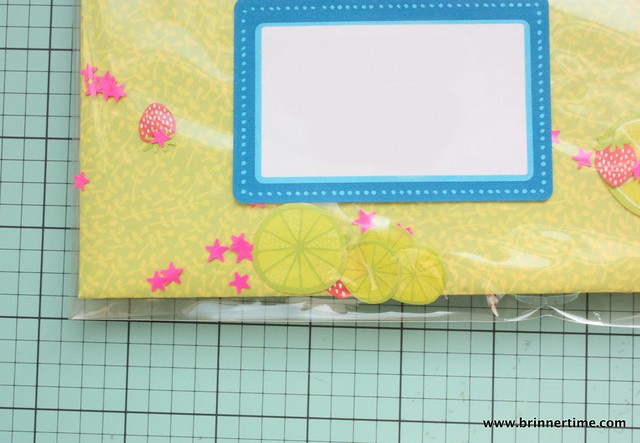
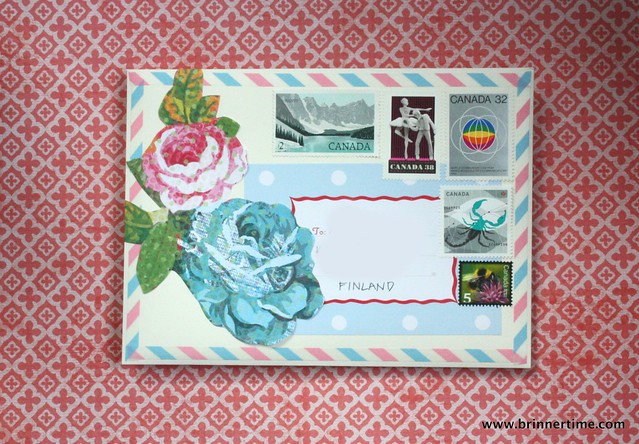 I wanted to try something a little different with this one. The cutout with flowers is not something I do often, but that's exactly why I need to try things out. I think this one turned out nice, maybe I'll try out more similar ones soon.
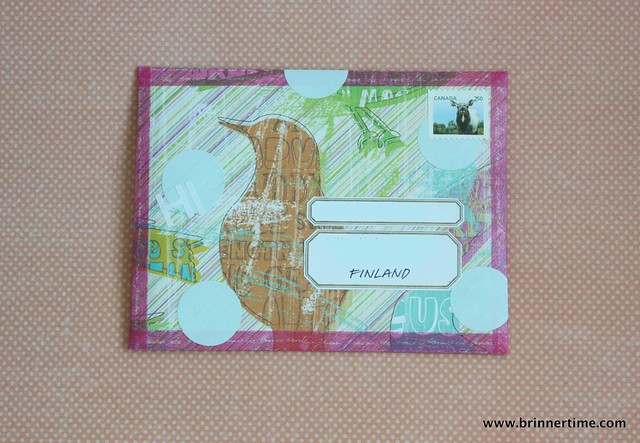
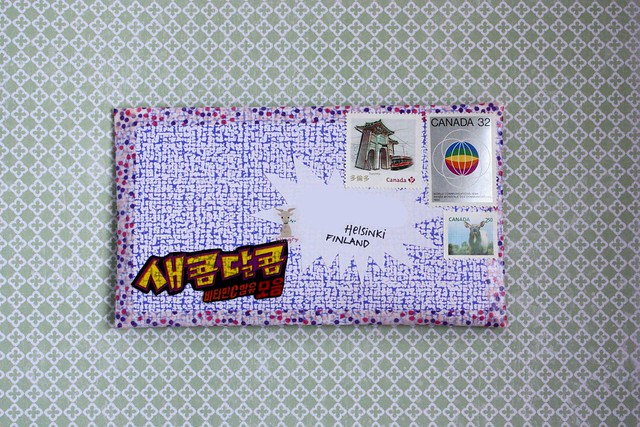
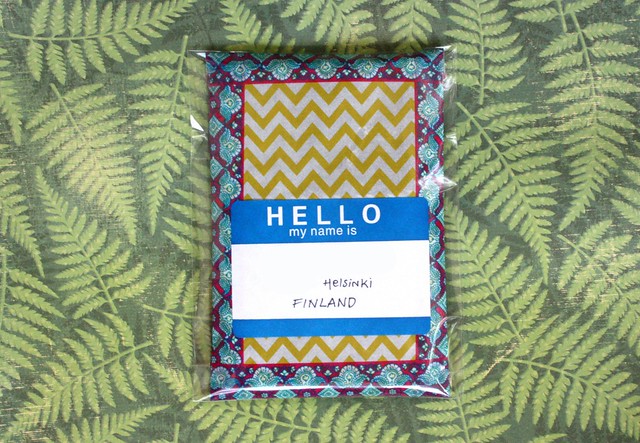
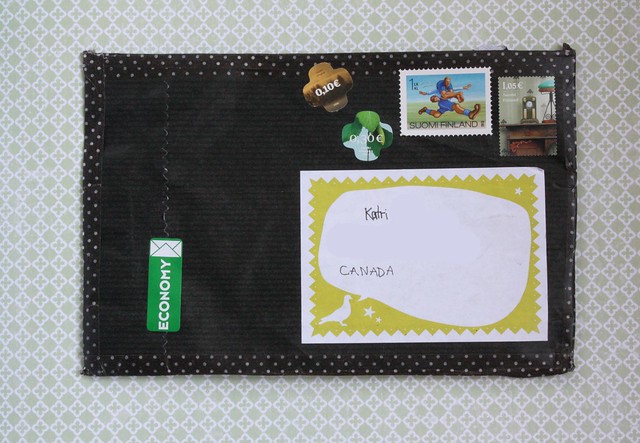
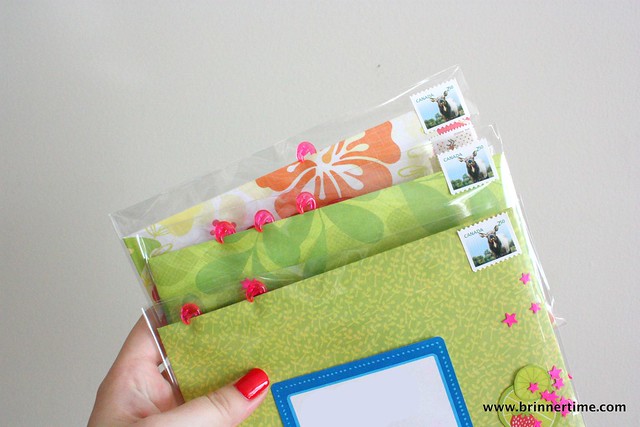
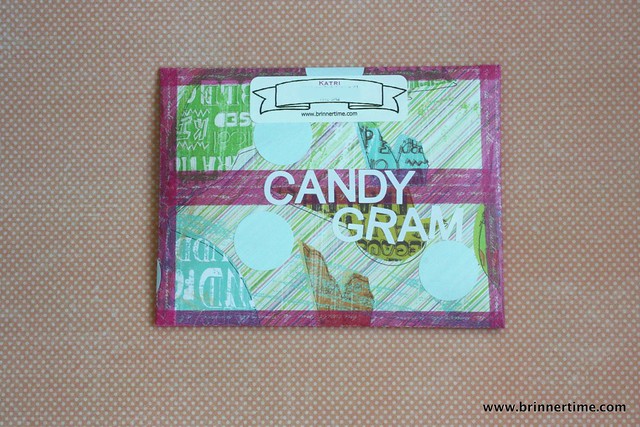 Another colorful one, this time with birds. I don't often show the back of the envelope, even though I try to add decorations there too. This one had some candy with the letter, as you can probably tell from the candy-gram text... (guys, it's a little early when I'm writing this, please excuse me pointing out the obvious) I just found those white letter stickers, so I had to try them out. They weren't super-sticky, so I wonder if they all made it...
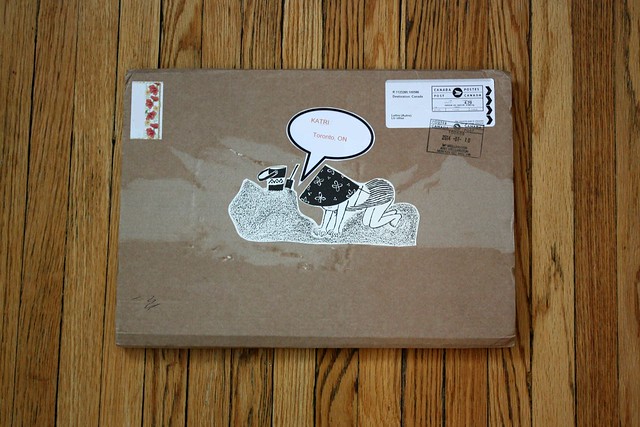
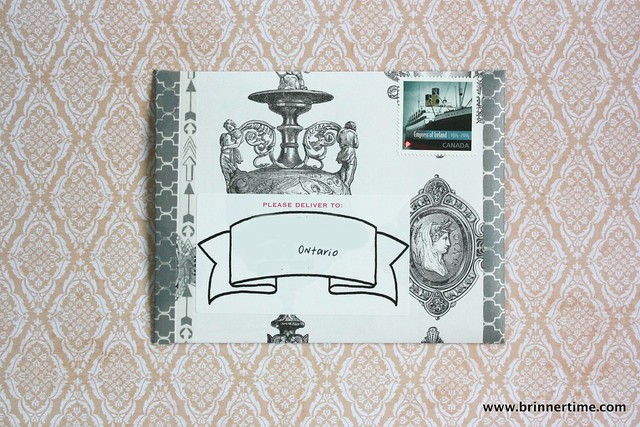 Finally, a little black and white number. I like using the items I sell in my store.
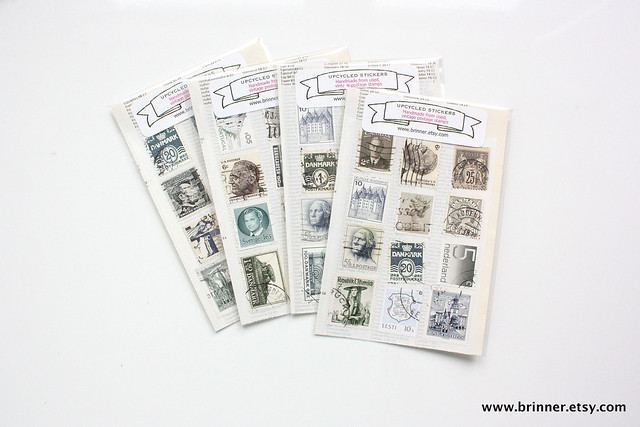
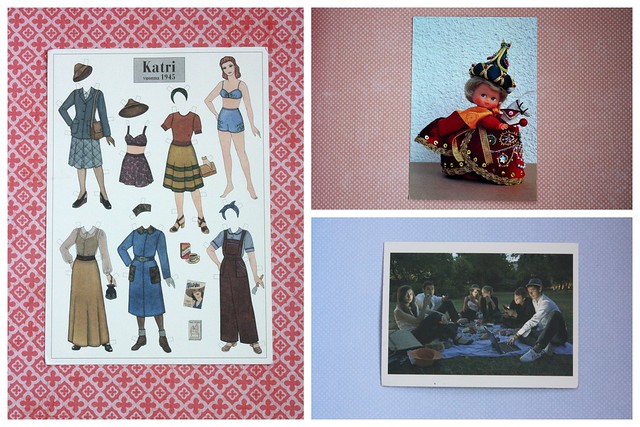
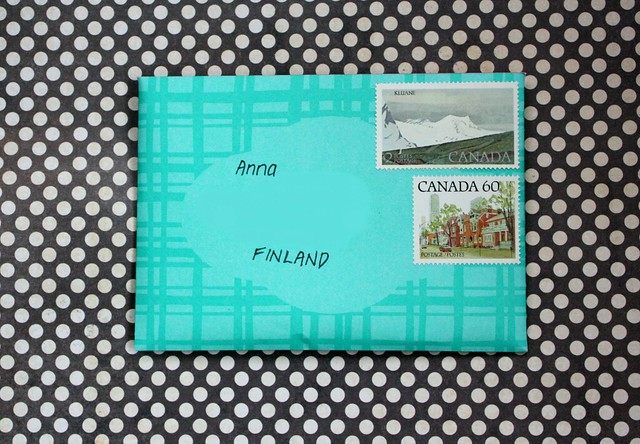
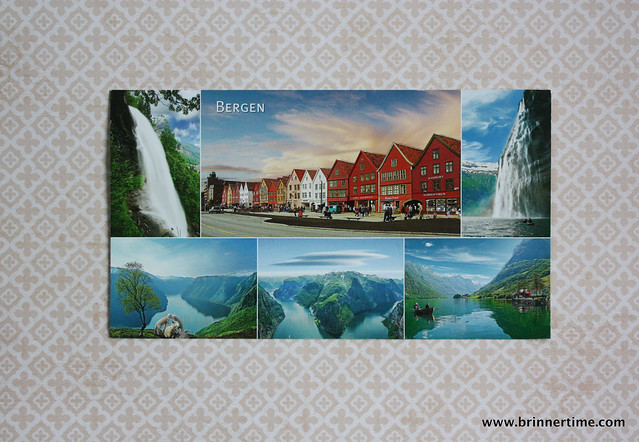 This week was a bit more quiet on the incoming front, but I got this postcard from Norway! How pretty is it over there? I think I should visit some day.